Understanding your compass to use it effectively outdoors

Having a compass is good. Knowing how to navigate with it is better! At Rayonrando.com, we do more than sell compasses: we also explain how to use your compass correctly.

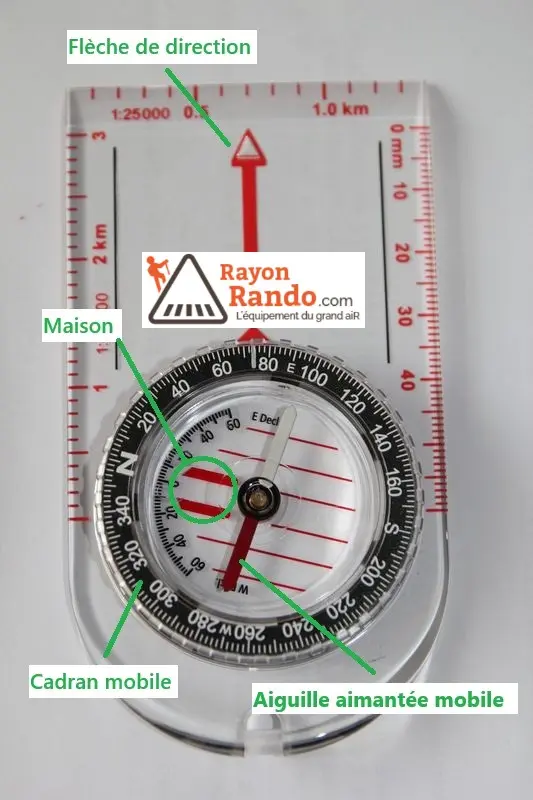
A compass in 4 parts:
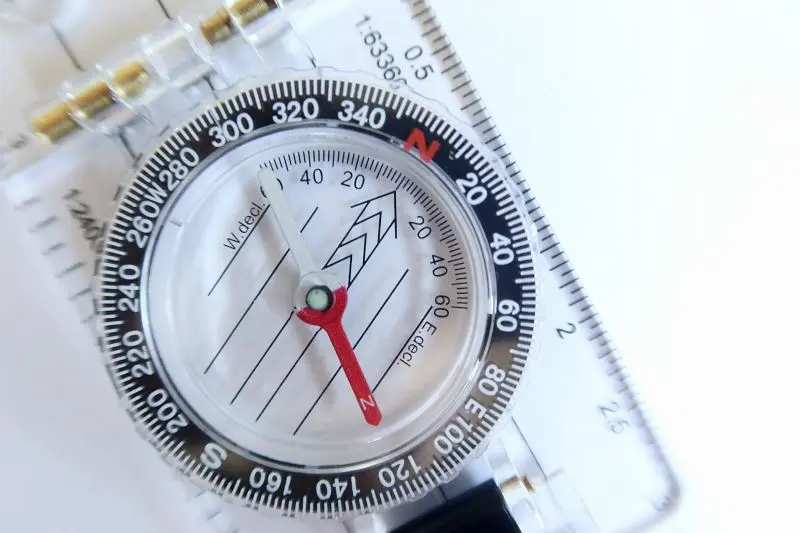
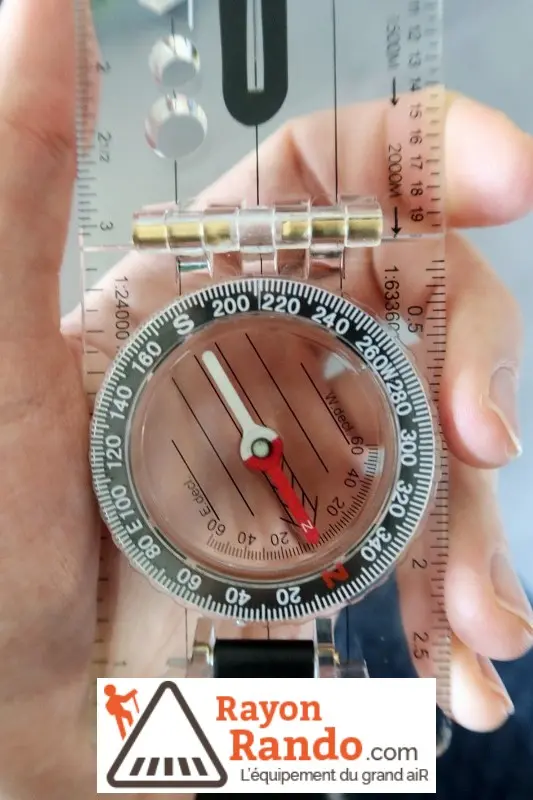
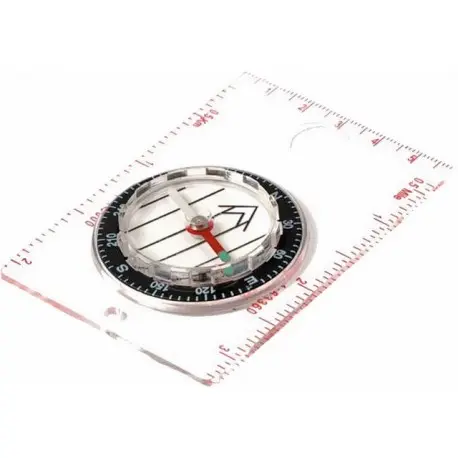
  • The moving magnetic needle, whose red tip points north;
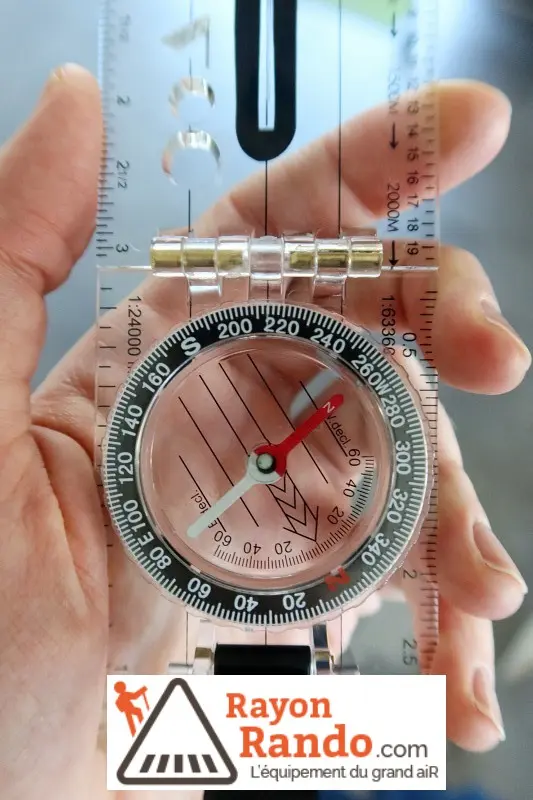
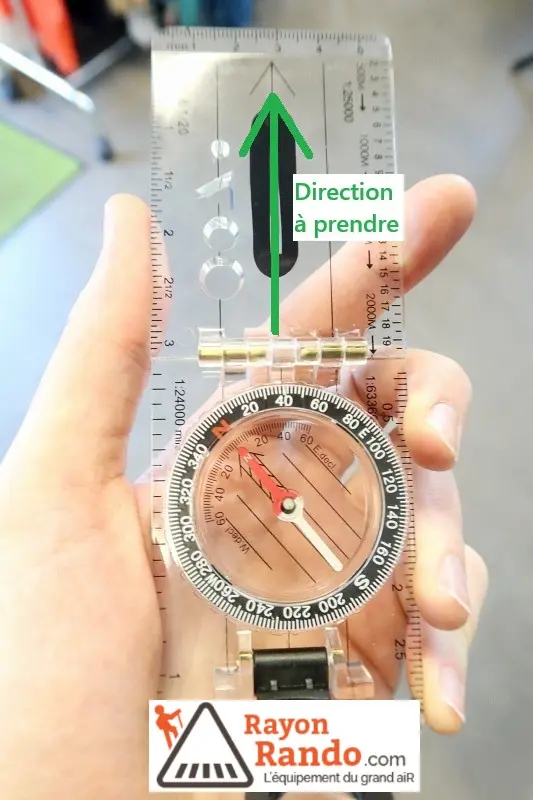
  • The direction-of-travel arrow, fixed on the compass baseplate, which you point towards your intended direction or a landmark;
  • The rotating dial, which helps you maintain the correct direction.
  • The marker called the “house” on the rotating dial, used for simple calculations.

A compass can be used in several ways:

  1. To orient your map and better identify its features.
  2. To measure a distance on your map and estimate remaining walking time.
  3. To locate yourself on the map when lost.
  4. To follow a direction by calculating a bearing and taking the correct route.

How do you use a compass to orient your map?

Before finding your position or route, orienting your map is essential. To orient a hiking map correctly with a compass:

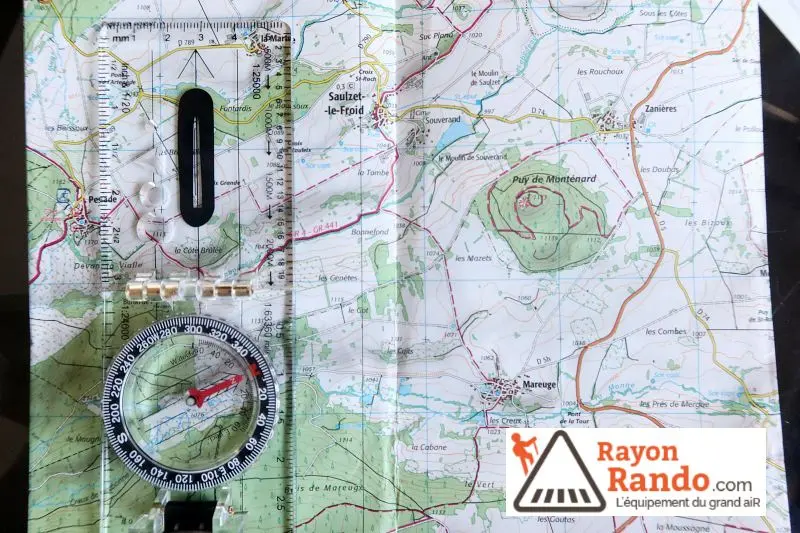
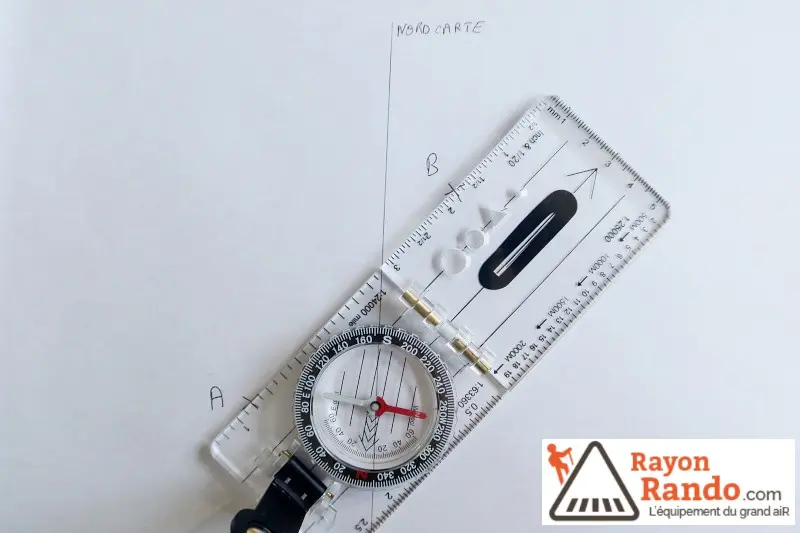
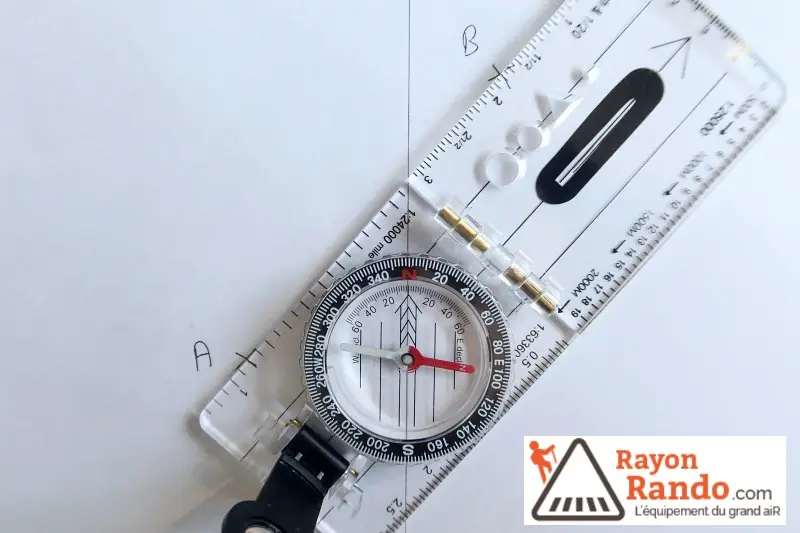
  • Lay your compass flat on the map.
  • Align the compass with the map's north lines (meridians).

  • Rotate the map + compass together until the moving red needle aligns with map north.

  • Your map is now oriented and your compass indicates north both on the map and on the ground!

How do you use a compass to measure distance?

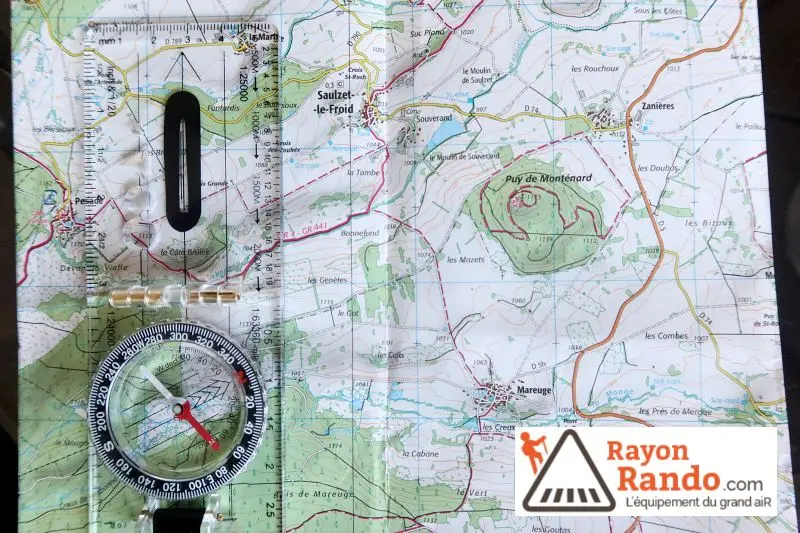
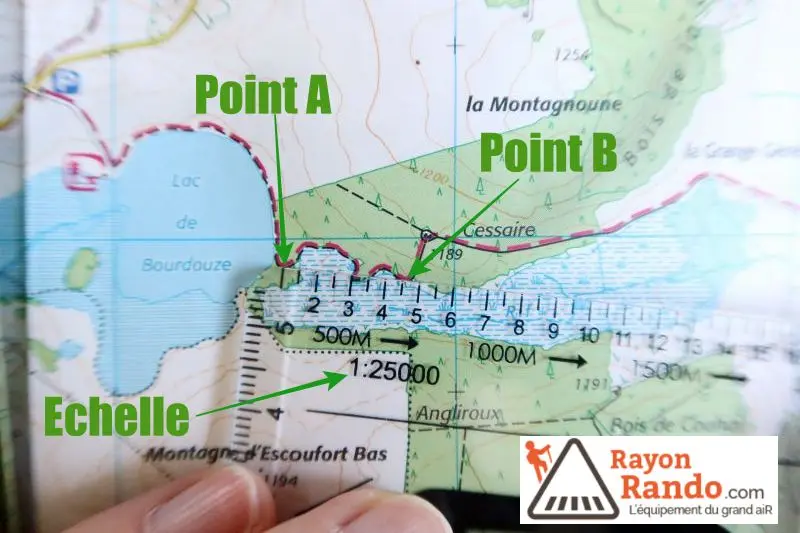
Compasses have markings at several scales around their edges. To measure distance, choose the scale matching your map (hiking generally uses IGN 1:25,000 maps).

Place this “ruler” between points A and B to measure the distance.
Remember to increase the distance estimate when the path winds, as here:

How do you use a compass to locate yourself on a map?

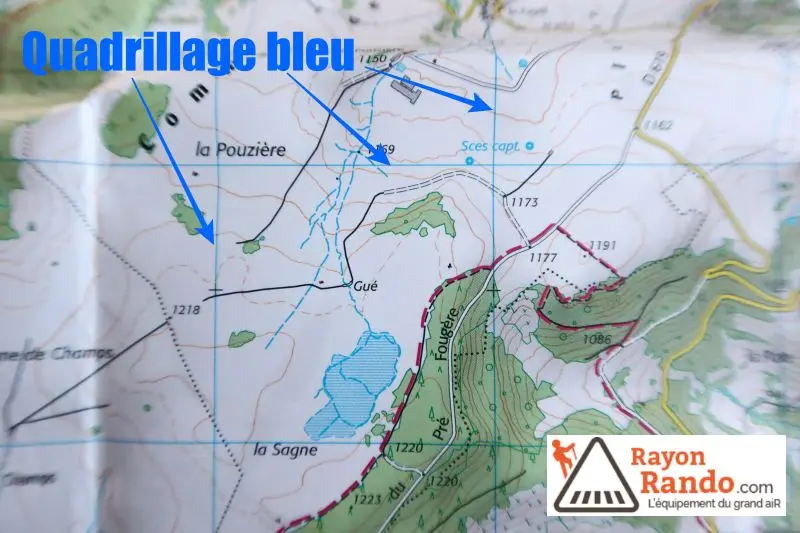
The moving red needle readily shows north, but you also need to identify map north easily. IGN25 maps (1:25,000 scale) have a blue grid. Vertical lines indicate the north / south axis. All labels also face the same way, with the tops of letters pointing north.

Another useful compass feature to identify is the orienting arrow.

On the rotating housing, this is generally an arrow aligned with “N” for north, or two red lines (as in some of our photos). This orienting arrow is very useful for finding your position and navigating.

If you want to locate yourself on the map, chances are you are lost or unsure of your precise position. First identify a distinctive landmark on the ground (summit, mountain hut, small lake, etc.) and find it on your map. Then use the appropriate method for these 2 situations.


1st situation: you know which path you are on, but not your exact position.

The 1st aim is to identify a known point on the ground and map, such as a summit. Once identified on both, simply:

  • Point the direction-of-travel arrow at the identified landmark (a summit, for example).

  • Keeping this arrow pointed at the landmark, rotate the housing to align the orienting arrow with north (the moving red needle).

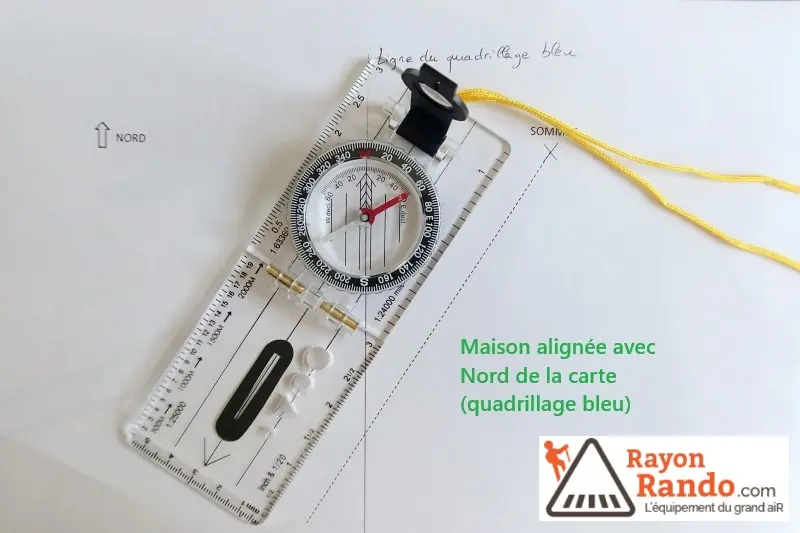
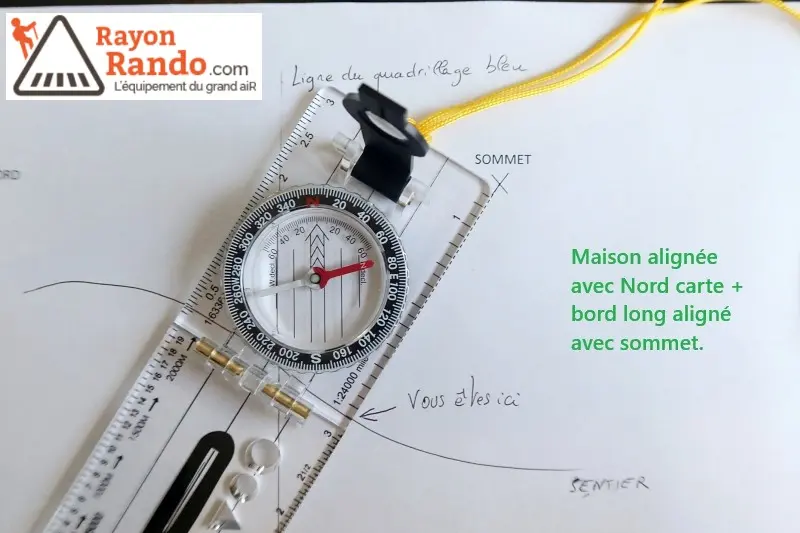
  • Place your compass flat on the map and align the orienting arrow with map north without moving the housing. Parallel orienting lines help you position it correctly.

  • Align the compass's long edge with the summit identified on the map.
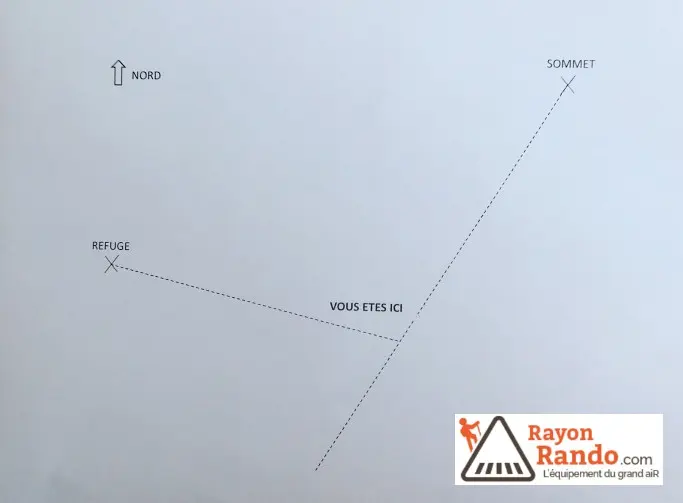
  • Draw a line: where it crosses your path is your position.

2nd situation: you have no idea where you are.

Apply the same principle as above, but use 2 distinctive landmarks. For example, a summit and mountain hut you can identify:

  • Sight the summit, rotate the housing to align the orienting arrow with north, then place the compass on the map as in the 1st situation. Draw your line.
  • Sight the mountain hut and repeat the steps.
  • The intersection of the 2 lines indicates your position.

How do you use a compass to follow a bearing?

You know your position (point A) and identify your destination (point B):

  • On your map, point the direction-of-travel arrow towards your destination (point B). The compass aligns with the straight line joining point A to point B.
  • Rotate the housing until the orienting arrow aligns with map north. The degree reading aligned with the direction-of-travel arrow is the bearing (angle between your direction and magnetic north). Follow this bearing on the ground.
  • Hold the compass flat and turn until the orienting arrow aligns with north (red needle). The direction-of-travel arrow indicates your bearing: the direction towards point B.

Before moving, identify a distant landmark on this bearing. Walk towards it without constantly looking down at your compass, avoiding the risk of drifting off course while negotiating obstacles. On reaching the landmark, repeat the sighting process with the orienting arrow aligned north.

One final point: hold your compass horizontally and away from metal objects or magnetic fields that might disturb the needle.

Basic or sighting compass?

A basic compass has the essentials for navigation:

  • Direction-of-travel arrow
  • North / south magnetic needle
  • Graduated rotating housing with orienting arrow
  • Graduated scales for measuring distance

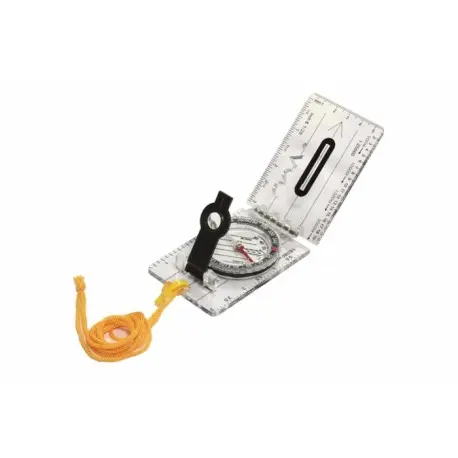
A sighting compass provides greater accuracy when taking bearings for more effective navigation.
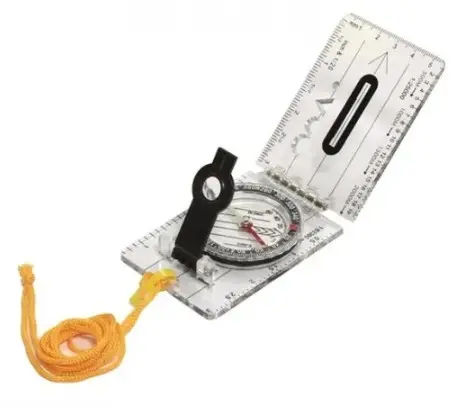
A sighting compass folds in two:

  • The 1st section, with the rotating housing, stays flat so the magnetic needle turns freely.
  • The 2nd section tilts for sighting through a narrow opening (slot or hole). Sight with your arm extended.

Adjust the orienting arrow and read the bearing using either a tilting small magnifier or a large mirror (more comfortable).

Remember magnetic declination in some countries

A compass uses the Earth's magnetic field. This article is written mainly for compass use in our region. Some parts of the world (such as the United States) are affected differently by the magnetic field, requiring corrections to the calculations above. This concerns magnetic declination: the angle between geographical north (the North Pole) and magnetic north (shown by your compass).

You now know how to use a compass. Learning to read an IGN map also helps you navigate while hiking. Read our article: How to read an IGN map.

Discover some of our compass range below:

Budget compass for occasional use

Map Compass Highlander

Folding compass with small magnifier and sighting window.

Cardinal Elémenterre

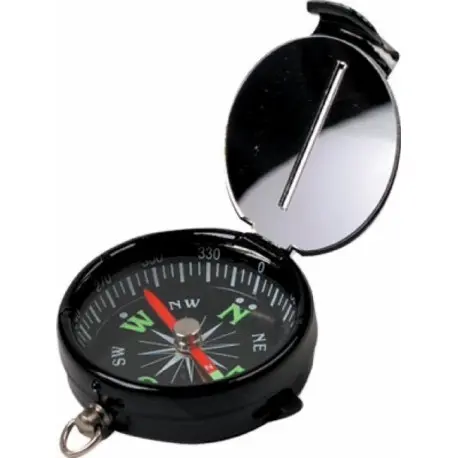
Very compact, affordable compass with sighting window.

Deluxe Pocket Compass Highlander

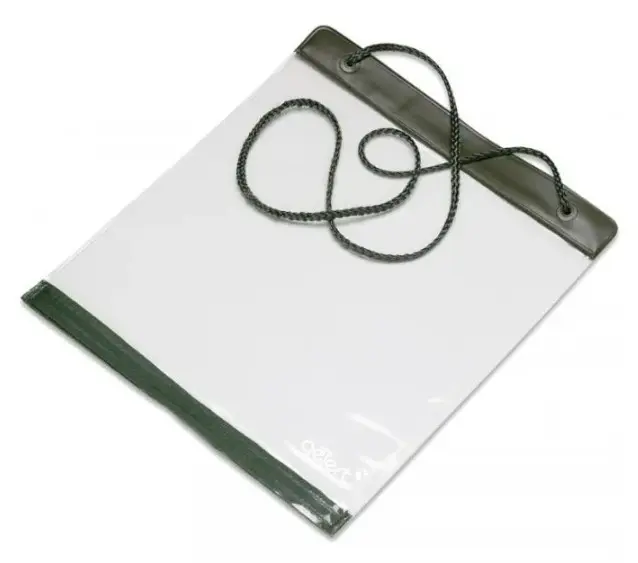
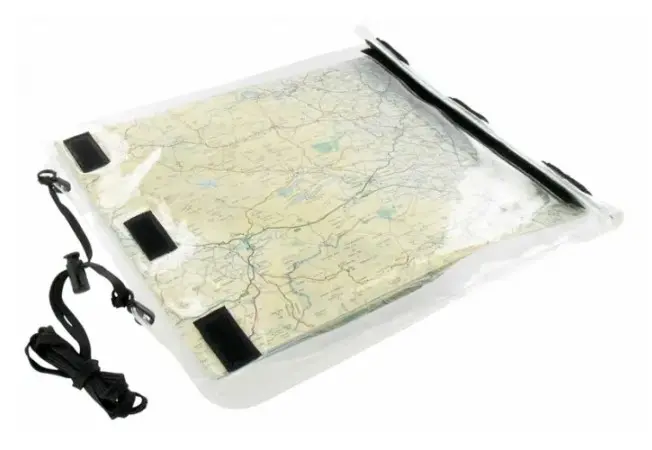
Discover our map cases too, ideal for protecting maps against rain and tearing:

Budget map case for occasional use.

Scout Map Case by Highlander

Waterproof roll-top map case with adjustable size.

Roamer Map Case by Highlander

Lightweight, waterproof map case with ziplock closure, UV and abrasion resistance. For regular use.

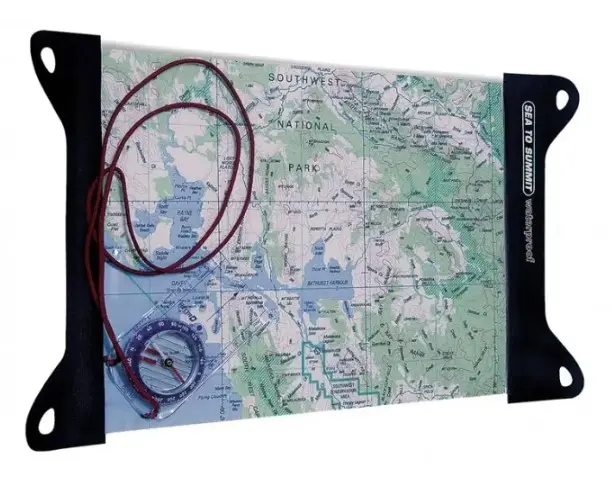
Guide Map Case M by Sea to Summit

Product comparison
Compare
Rayon Rando advice