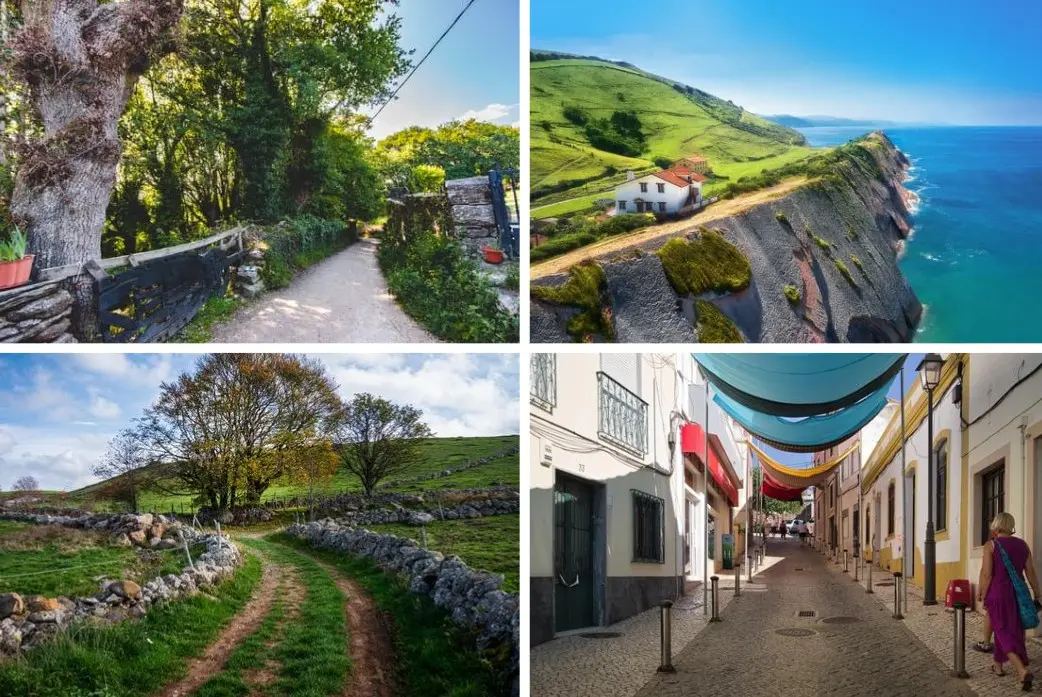
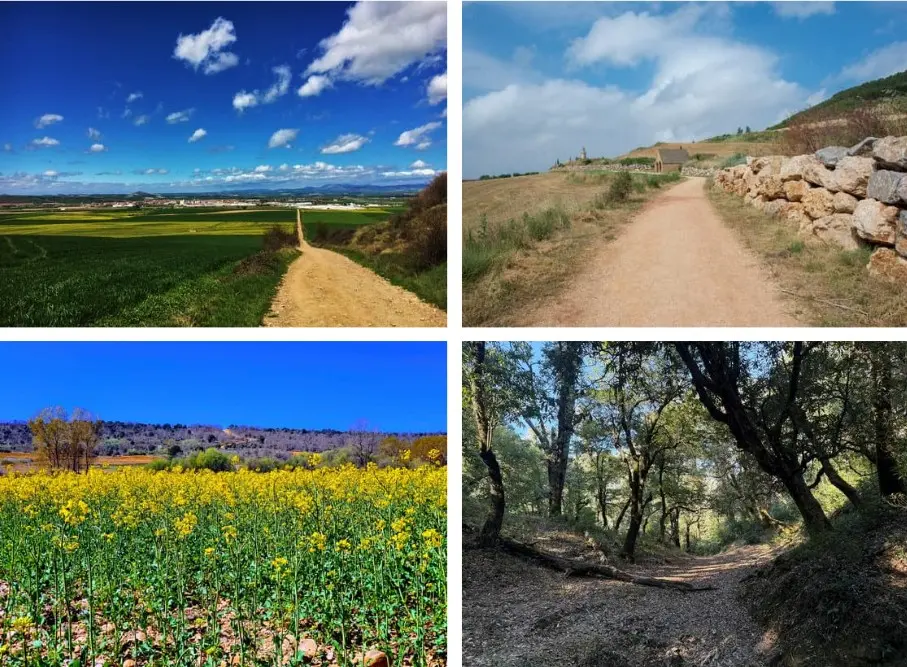
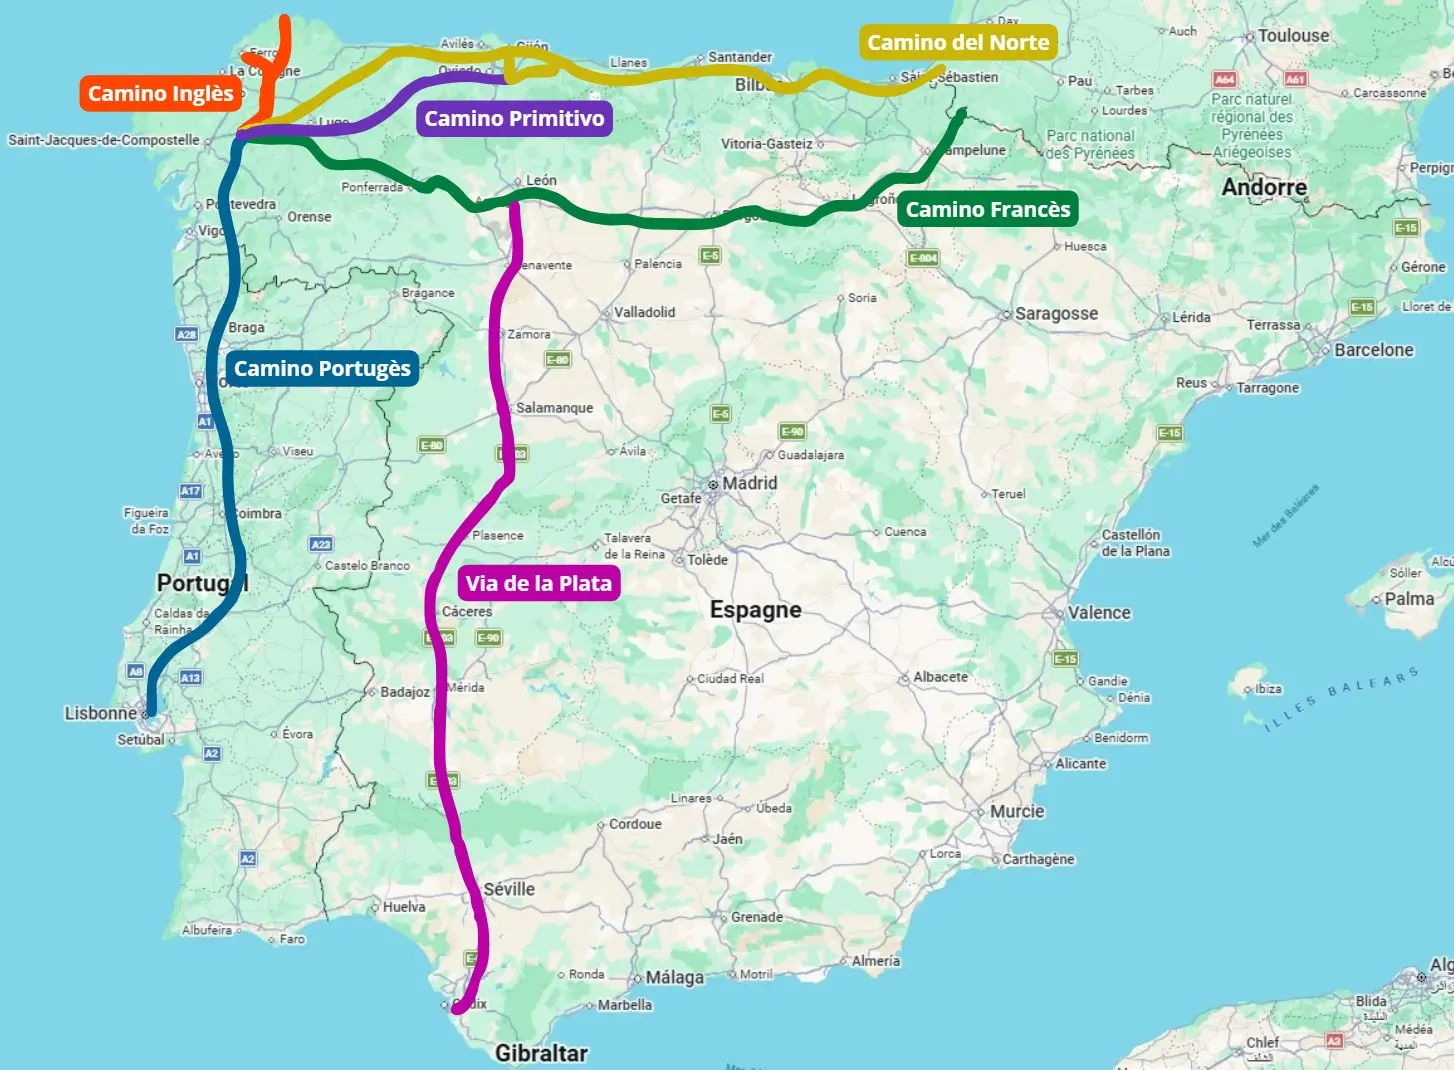
Which are the best Camino routes in Spain?
Which is Spain's best Camino route? Compare the main routes (Francés, Norte, Primitivo, Portugués, Inglés), difficulty levels, scenery and ideal sections.
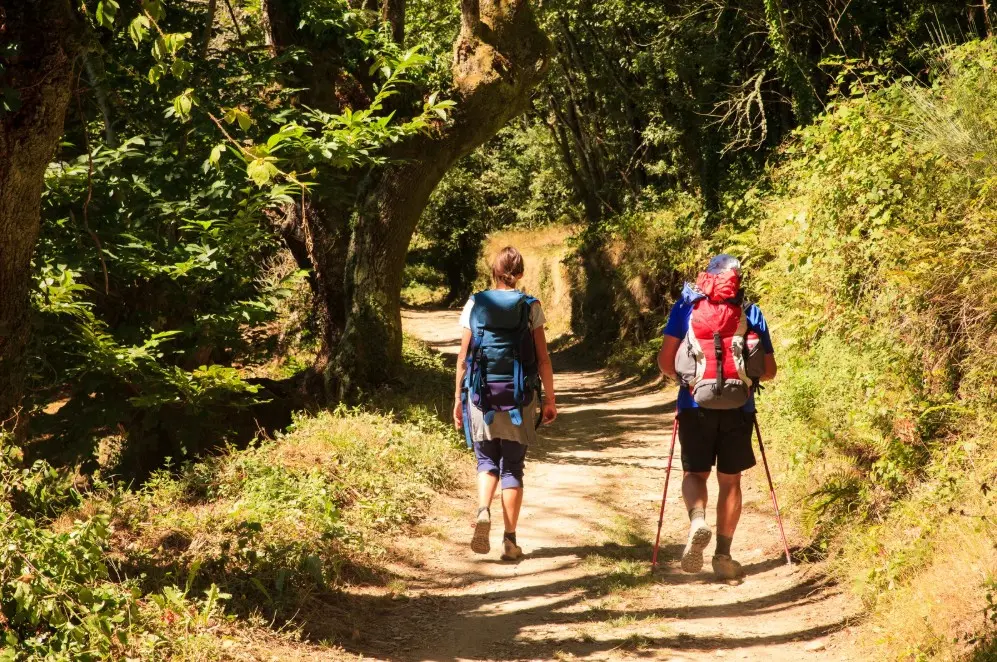
Walking towards Santiago de Compostela in Spain means entering the pilgrimage's most iconic setting. Here the great European routes converge, and the Camino's collective energy is strongest.
At RayonRando, we often meet pilgrims completing their equipment after finishing the French section and before entering Spain.
But as soon as you begin researching, one question returns: which is the best Camino in Spain?
- Should you choose the famous Camino Francés?
- Opt for the spectacular Camino del Norte?
- Take on the Primitivo challenge?
- Or favour a more accessible route such as the Camino Portugués?
There is no universally “best” route. There is a Camino suited to your ability, desired atmosphere and available time. Here is a clear comparison to help you choose.

Camino Francés: Spain's classic route
The Camino Francés is by far Spain's most travelled Camino route. After crossing the Pyrenees from Saint-Jean-Pied-de-Port to Roncesvalles, it passes through Navarre, La Rioja, Castile and León, then Galicia.
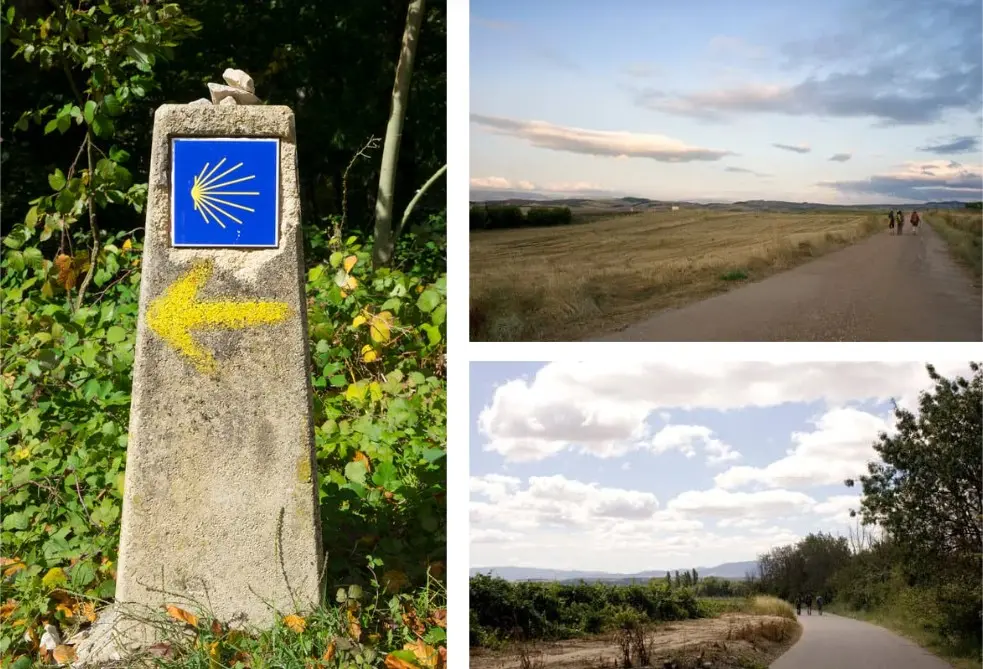
Over nearly 780 kilometres in around thirty stages, it offers true cultural immersion: medieval villages, the Meseta's vast cereal plains, vineyards, cathedrals and regional traditions.
A UNESCO World Heritage Site since 1993, it is the world's best-known and busiest route. The start is demanding: a first stage of 25 kilometres and 1,300 metres of ascent to Roncesvalles.
→ Strengths
- Exceptional infrastructure: numerous public and private pilgrim hostels, regular shops and ubiquitous yellow-arrow waymarks.
- International atmosphere: meeting other pilgrims and forming connections is easy.
- Gradual terrain progression: despite some physical stages, the landscape remains generally accessible.
- Rich heritage: Burgos, León, Logroño…
→ Weaknesses
- Busy, especially from May to September. Some popular stages can become overcrowded.
- Monotonous Meseta sections: long straights and little shade.
- Less sense of wild adventure than the northern routes.
| Iconic stage | Features | Approximate distance |
|---|---|---|
| Pamplona | Navarrese architecture, Ferria de San Fermin festival (July) | 34 km from Saint-Jean-Pied-de-Port |
| Logroño | La Rioja's wine capital, medieval heritage | 110 km |
| Burgos | Monumental Gothic cathedral, important urban centre | 243 km |
| Leõn | San Isidoro basilica, cathedral with remarkable stained glass | 420 km |
| Astorga | Gaudi palace, unique and bohemian architecture | 510 km |
| O Cebreiro | Spectacular entry into Galicia, altitude 1,300 m, forests | 690 km |
▶ Who is it for?
The Camino Francés is often considered the best Camino in Spain for a first experience. Reassuring and structured, it teaches you to manage your pace over time.

Camino del Norte: the most visually spectacular
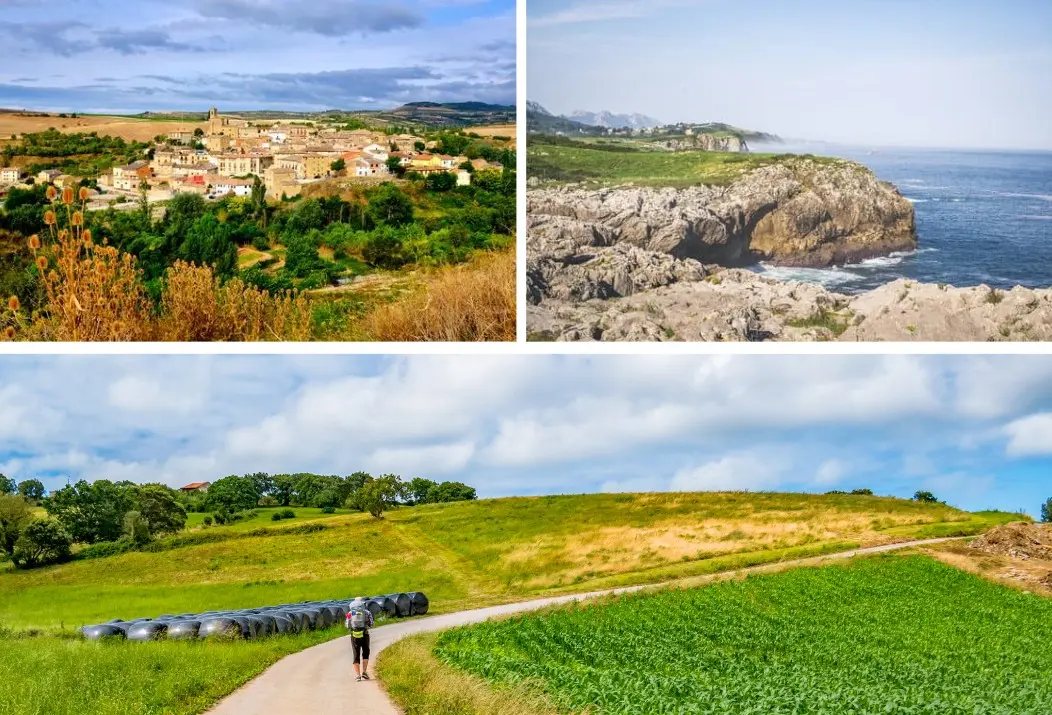
The Camino del Norte follows the magnificent Cantabrian coast from Irun in the Basque Country to Galicia over around 800 km. The sea is ever-present. Steep cliffs, wild beaches, green hills and fishing villages mark your progress.
Visually striking, it is often called Spain's most beautiful Camino.
→ Strengths
- Spectacular coastal scenery, often considered the most photogenic of all Caminos.
- Milder summer weather thanks to oceanic influence.
- Fewer crowds than the Camino Francés, especially on early sections.
→ Weaknesses
- Significant elevation changes: frequent climbs and descents.
- More demanding and uneven stages.
- Accommodation sometimes further apart, requiring planning ahead.
▶ Who is it for?
Walkers accustomed to multi-day trips who want a more physical route. For a wilder, more maritime and less standardised Camino, the Norte is an excellent choice.

Camino Primitivo: the most demanding
Historically the oldest route to Santiago, the Camino Primitivo crosses the Asturian mountains before reaching Galicia (268 km).
A rawer, more mountainous and demanding route.
→ Strengths
- Spectacular, unspoilt mountain scenery.
- Few walkers.
- An authentic, introspective atmosphere.
→ Weaknesses
- Major elevation changes and demanding stages, sometimes technical in poor weather.
- Less infrastructure than the Francés.
- Requires good physical fitness.
▶ Who is it for?
The Camino Primitivo is often considered Spain's hardest Camino. It suits experienced hikers and those wanting a real physical challenge.

Camino Portugués: the balanced option
Starting in Porto or Tui, the Camino Portugués offers gentler progress towards Galicia.
Shorter than the Francés and less demanding than the Norte, it is an excellent compromise.
→ Strengths
- Moderate terrain, generally accessible.
- Good infrastructure.
- Friendly atmosphere without excessive crowding.
- Varied landscapes.
→ Weaknesses
- Less cultural variety than the Francés.
- Growing popularity, especially on the coastal alternative.
▶ Who is it for?
For a quieter first Camino, or those with two weeks wanting a complete yet accessible experience.

Camino Inglés: short but substantial
The Camino Inglés usually starts in Ferrol, covering around 120 kilometres to Santiago.
Short, but not necessarily easy.
→ Strengths
- Ideal for one week.
- Quieter than the Francés.
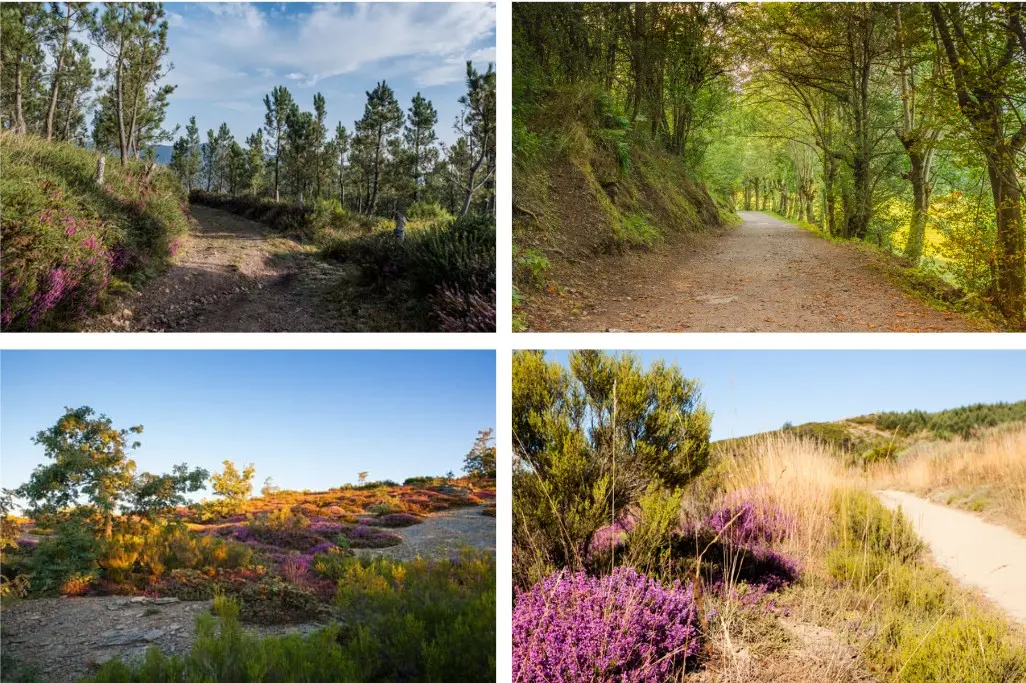
- Typical Galician scenery.
→ Weaknesses
- Little gradual physical build-up: stages can feel intense.
- Less geographical variety.
▶ Who is it for?
For those short on time but wanting to experience arriving in Santiago de Compostela fully.

Crossing the Pyrenees and the major junction: Puente la Reina
For everything about crossing the Pyrenees, consult our article on the French Camino routes.
After the Pyrenees, Puente la Reina in Navarre is the major strategic junction where the French routes and Camino Aragonés from Somport pass meet to form the single Camino Francés towards Santiago. This iconic stopover village warmly welcomes pilgrims with all necessary services, numerous hostels and an atmosphere encouraging encounters.
Conclusion: which is Spain's best Camino, and should you start in France?
Choosing the best Camino in Spain depends above all on your profile.
- Want a structured, lively and reassuring route? → The Camino Francés remains dependable.
- Want spectacular coastal scenery? → The Camino del Norte is probably the most beautiful.
- Enjoy physical challenges and mountains? → The Camino Primitivo is the most demanding.
- Have 1 to 2 weeks and want a balanced option? → The Camino Portugués often makes most sense.
- Short on time but want to arrive in Santiago? → The Camino Inglés is ideal.
Finally, should you start your Camino in Spain or France?
France offers a more gradual, rural approach, often quieter on certain routes. Spain brings collective energy, a more international atmosphere, accommodation infrastructure and the symbolic arrival in Santiago de Compostela.
If unsure between the two, RayonRando also recommends our complete French route guide:
→ Camino de Santiago: which are the best routes in France?

How to choose a backpack for cycle touring, and when to avoid one?
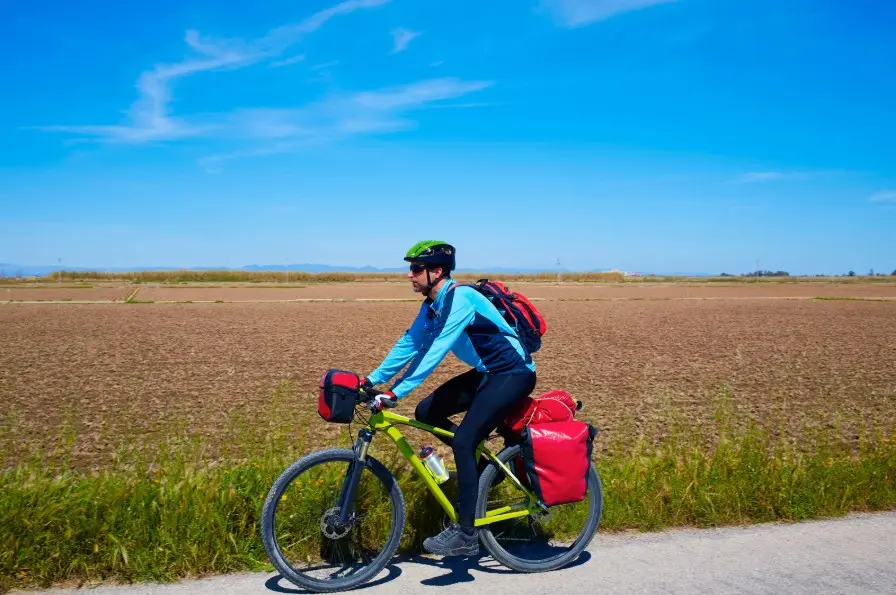
When starting cycle touring, the luggage question arises quickly: backpack or panniers? Some cyclists simply take the bag they already own. Yet the choice directly affects comfort, fatigue and bicycle stability.
A backpack can be an excellent option, but only in certain cases. In other situations, it quickly becomes uncomfortable or detrimental. Discover with RayonRando when to use a backpack for cycle touring, when to avoid one and how to choose the right model.
A backpack for cycle touring: good or bad idea?
A backpack is neither always wrong nor universally suitable. It depends mainly on three factors:
- outing duration
- weight carried
- terrain type
On a bike, your body already leans forwards. Adding weight on your back changes:
- your posture
- weight distribution
- shoulder and lower-back fatigue
The greater the backpack weight, the greater the strain.
Backpack capacity also matters. A large pack encourages more equipment, further increasing load and discomfort.
In practice, backpacks work well for lightly loaded outings. As load or duration increases, their limits quickly appear.

When a backpack is a good idea
In some circumstances, a backpack remains a simple, effective option.
Day outings
For a short outing, a backpack is often simplest.
A small pack carries water or a hydration reservoir, windproof layer, food and a minimal repair kit.
In this case, a 5 to 15 litre capacity is generally sufficient.
The aim is simple: keep the load light.
Technical terrain: mountain biking or demanding gravel
On technical trails, panniers can sometimes hinder you through:
- swaying
- constraints in narrow passages
- interference with the wheel or suspension
A small backpack keeps equipment close to your body, improving bicycle stability. The bike also remains fully manoeuvrable.
That is why mountain bikers often use hydration packs.
A minimalist approach
Some riders deliberately travel very light. This means:
- little equipment
- a quick outing
- limited self-sufficiency
A backpack then becomes a simple, compact option.

When a backpack becomes a bad idea
In many situations, a backpack quickly becomes the least suitable option.
Cycle touring or long distance
Over several hours or days, backpacks often cause:
- shoulder fatigue
- lower-back pain
- constant pressure on the back
Even with a good backpack, carrying weight over tens of kilometres is demanding. Unlike hiking, the forward-leaning posture transfers load poorly to the hips. Shoulders and back bear most of it.
That is why cycle travellers almost always use panniers.
Heavy loads
Once the pack exceeds around 5 to 6 kg, discomfort increases considerably:
- shoulder compression
- rider imbalance, especially on bends, rough sections or narrow passages
- increased muscular fatigue
When cycling, it is almost always better to put weight on the bike rather than your body.
Hot weather
A backpack greatly reduces back ventilation.
The result:
- heavy perspiration
- feeling hot
- prolonged discomfort
Even with effective back ventilation, a backpack breathes less than wearing no backpack.
How to choose a backpack for cycle touring?
If you decide to use one, certain criteria matter particularly.
What volume and capacity for cycle touring?
Keep capacity moderate.
Here are useful guidelines from RayonRando:
- 5 to 10 L: short outings with a hydration reservoir, a few accessories and snacks. A model such as the Apex 8 offers enough space while remaining compact, stable and streamlined.
- 10 to 15 L: day outings with a hydration reservoir, rainwear, food and accessories while retaining good agility. For example, the Wilsa Raid 16 L provides space for everyday equipment without compromising stability.
- 15 to 20 L: greater self-sufficiency, perhaps with a change of clothing. The Deuter Bike I carries a substantial load while remaining compact, breathable and suited to a forward-leaning posture.
Beyond this, a backpack is often too bulky for cycling, causing fatigue and instability.
Is a 30 L cycling backpack too much?
Some nevertheless choose a 30 L backpack, often as a borderline compromise between travelling light like bikepacking and carrying quite a lot. For multi-day trips, we advise against it: panniers provide better lasting comfort.

A good support system
A cycling backpack must remain stable.
At RayonRando, we highlight these important features:
- ergonomic shoulder straps that are not too thick.
- a chest strap to prevent swaying, especially useful on uneven terrain, slopes and bends.
- a lightweight waist belt for stability, which must close without compressing the abdomen.
This prevents unwanted movement, particularly while pedalling or riding uneven ground.
Adequate back ventilation
Ventilation remains limited with a cycling backpack, but some systems improve it:
- breathable foam panels
- ventilation channels
It will never be perfect, but encourages airflow to reduce perspiration.
Should you use a suspended-mesh backpack?
Suspended-mesh backpacks are more breathable, but also stiffer and less comfortable when leaning forwards. Depending on load, they may catch more wind and offer less stability. They can work at small capacities (10 L), but often less well with greater capacity and heavier loads.
Organisation and quick access
When cycling, it is useful to have:
- a hydration reservoir with drinking tube and bite valve, allowing you to drink without stopping or losing control of the bike.
- an external pocket for small items such as snacks and a phone, which should be easy to grab. The aim is to limit unnecessary stops.
- A main compartment that is not too deep, limiting sway and wind resistance.
Alternatives to a backpack: often more suitable
In many cases, carrying equipment on the bike remains best.
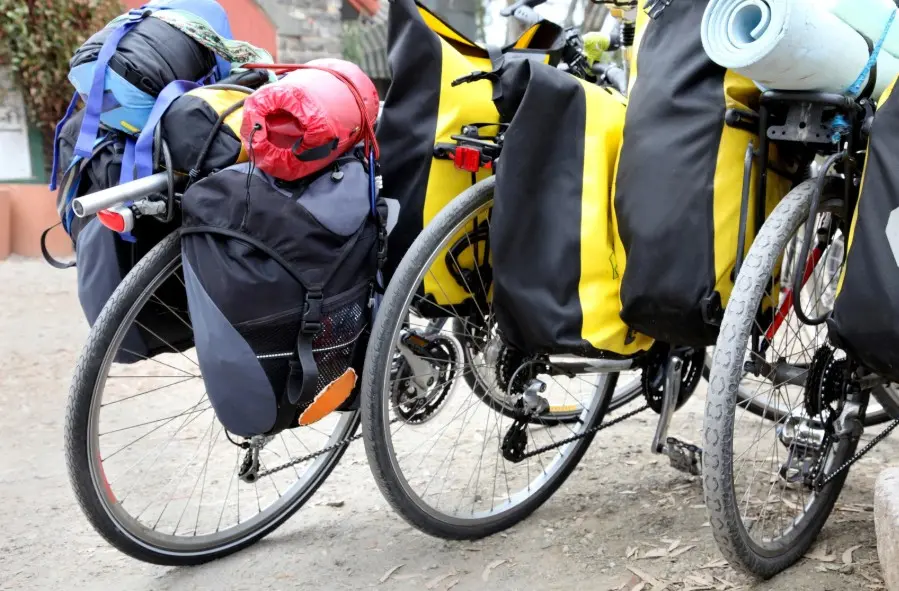
Rear panniers
Mounted on a rack, panniers provide:
- good weight distribution
- high carrying capacity
- optimal long-distance comfort
This is the classic cycle touring option.
RayonRando.com has selected these panniers:
Bikepacking
Bikepacking uses bags attached directly to the bike:
- saddle bag
- frame bag
- handlebar bag
This configuration provides:
- a low centre of gravity
- good stability
- a manoeuvrable bike on uneven tracks and rough routes.
It is very popular for gravel and mountain-bike adventures.
The compromise: small backpack + bike bags
Some cyclists use:
- bike bags for main equipment
- a small hydration pack for water and essentials
This combines comfort and accessibility.
Backpack or panniers: choosing for your activities
Choosing between backpack and panniers mainly depends on outing type, load and terrain. Many cyclists start with a backpack for simplicity, practical for short or sporting rides. But as distance or load increases, limitations quickly appear.
The main problem is weight distribution. With a backpack, the rider carries the entire load: shoulders, back and lumbar muscles work constantly. Over hours of pedalling, this can cause muscular fatigue, pain or discomfort.
Panniers instead put weight directly on the bike. Your body stays freer and posture less constrained. This is why most cycle travellers and bikepackers favour this option.
A backpack remains excellent for urban outings or walks, being easy to carry once off the bike. Outdoors, it also keeps equipment to hand and preserves handling agility on technical trails.
Overall, backpacks suit light, sporting outings. For long distances or carrying equipment, panniers are generally more comfortable and efficient.

At RayonRando, we advise according to your use:
| Use | Backpack | Panniers |
|---|---|---|
| Day outing | ✔️ | Optional |
| Technical mountain biking | ✔️ | Sometimes obstructive |
| Lightweight bikepacking | ✔️ | ✔️ |
| Cycle touring | ❌ | ✔️ |
| Heavy load | ❌ | ✔️ |
| Hot weather | ⚠ | ✔️ |
We also advise according to your priorities:
| Criterion | Backpack | Panniers |
|---|---|---|
| Back comfort | Moderate over time | Excellent, leaves your back free |
| Bike agility | Excellent | Reduced, less manoeuvrable |
| Equipment access | Quick and easy | Requires a complete stop |
| Technical terrain | Very suitable | Less suitable |
| Long distances | Less comfortable | More comfortable |
Conclusion
A backpack can be practical for short, light outings, especially mountain biking or gravel riding. A small capacity (5–10 L) can also complement bike bags. But as duration, heat or load increases, its limitations quickly appear.
In most cases, carrying weight on the bike remains most comfortable. Panniers or bikepacking bags offer better weight distribution and reduce long-distance fatigue.
How to choose your bushcraft knife?
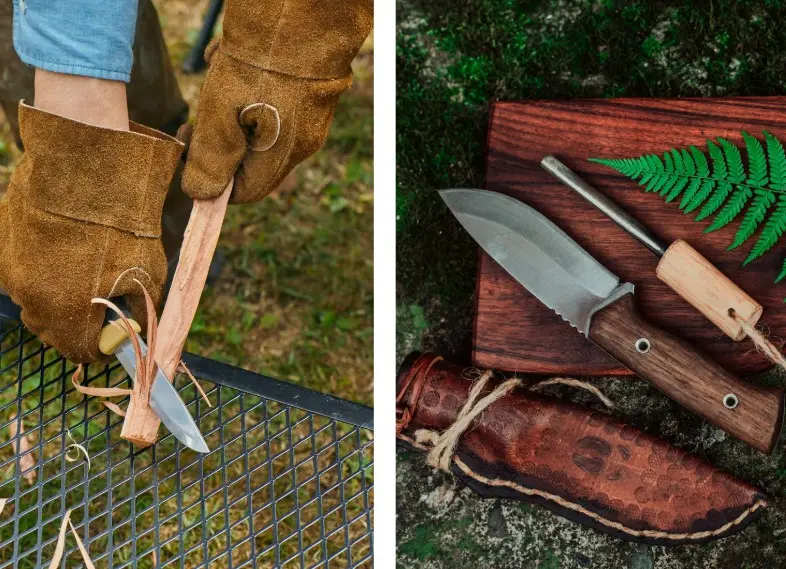
For woodland enthusiasts, a bushcraft knife is the basic accessory for almost everything: cutting firewood, cooking, building shelter, carving and repairs. For those returning to nature, it is the first item in a survival kit: an indispensable, versatile tool.
But not all knives are equal. Blade length, steel type, construction strength and ease of maintenance determine whether a knife is truly reliable in the field.
RayonRando explains the essentials for choosing a bushcraft knife suited to your activities without getting it wrong.
Features of a good bushcraft knife
A bushcraft knife must be robust, simple and versatile, designed for intensive outdoor use.
In most cases, it is a fixed-blade knife. This is stronger than a folding knife and better withstands demanding tasks such as cutting wood or batoning.
A good bushcraft knife generally has:
- a robust fixed blade.
- an ergonomic handle providing a secure grip for safe, precise use
- a strong construction, ideally full tang
- a carrying sheath for belt or backpack attachment
Simplicity often indicates reliability. Effective bushcraft knives are generally understated and built to last.

Which blade length should you choose?
Blade length directly affects versatility. It should be long enough, but not too long: capable of cutting a small branch while remaining manageable.
For a bushcraft knife, the ideal length is generally between 9 and 12 cm.
This size allows:
- cut branches or prepare wood
- perform precise tasks such as carving
- cook or prepare food
A shorter blade sometimes lacks power for certain tasks.
An overly long blade becomes less manageable for fine work.
In most situations, a blade of around 10 cm is an excellent compromise.
Blade thickness and strength
Blade thickness plays an important role in knife strength.
A thin blade is pleasant for precision work or cooking, but less suitable for heavy loads.
A thicker blade allows:
- more force to be applied
- wood splitting by batoning, using the blade as a wedge
- better long-term durability
For a versatile bushcraft knife, 3 to 4 mm thickness often balances strength and cutting ability well.
The importance of full-tang construction
Full-tang construction is often recommended for a reliable bushcraft knife.
This means the blade extends through the entire handle length.
The advantages are numerous:
- greater strength
- better impact resistance
- greater durability
This construction is particularly valued in bushcraft, where knives may face substantial stresses.

Which steel for a bushcraft knife?
A knife blade is made of steel containing iron and carbon (0.2 to 2%: higher content gives greater hardness), sometimes with other elements added to improve certain properties.
The two main steel families used for knives are:
- stainless steel
- carbon steel
Stainless steel
Steel tends to oxidise, dulling the blade and potentially causing pitting if corrosion is severe. Chromium is added to prevent this, producing stainless steel.
Its benefits:
- resists moisture well
- requires little maintenance
- retains its edge reasonably well
However, the edge may be less fine and harder to sharpen. This is the most common knife steel, producing useful blades for all kinds of tasks, especially with occasional sharpening at home.
A good choice for those wanting an easy-care knife, particularly for hiking.
Carbon steel
Carbon steel oxidises more readily, but has other qualities thanks to a finer, less hard structure than stainless steel.
Its strengths:
- a better, finer edge
- easier sharpening
- excellent cutting performance
It particularly suits users who maintain their knife regularly and want a high-performance edge.
However, avoid this steel in very humid or marine environments. Store it clean and dry, otherwise it rusts.
If unsure, choose stainless steel. It meets most needs.
Besides composition, different blade heat-treatment techniques, involving heating and cooling, produce varying hardness and flexibility.

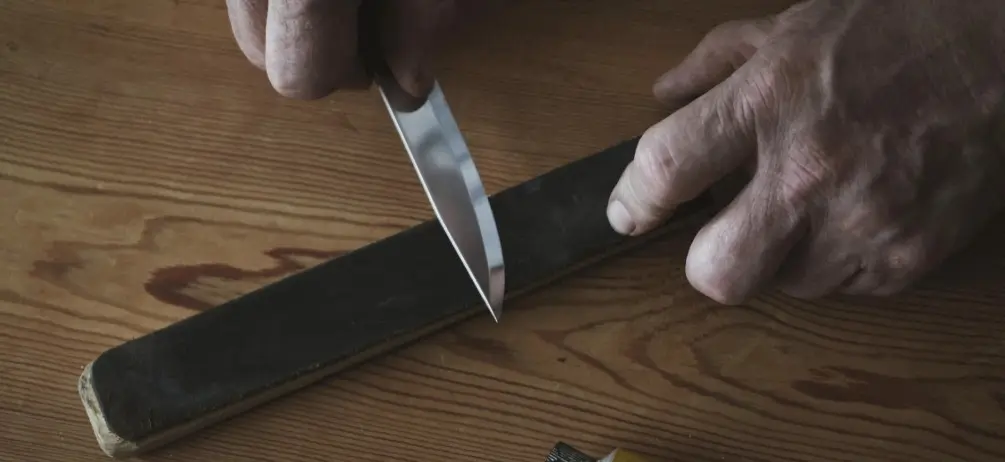
Edge retention and ease of sharpening: hard, but not too hard
A blade's cutting ability depends on the fineness of its edge. The finer the edge, the more effectively it cuts.
Steel hardness affects two things:
- edge retention
- ease of sharpening
A hard blade:
- retains its edge longer
- but takes more effort to sharpen
- an overly hard blade may be less resilient to impact, causing small chips.
A softer blade:
- blunts more quickly
- but can be easily resharpened in the field
The choice therefore often depends on use and maintenance habits.
In summary, a relatively hard stainless blade allows extended use with little maintenance and occasional sharpening at home. A carbon-steel blade, of varying hardness, better suits those wanting a high-performance edge through regular sharpening, including in the field. Very hard blades are more suited to specific uses and people with appropriate sharpening equipment, such as a belt sharpener.

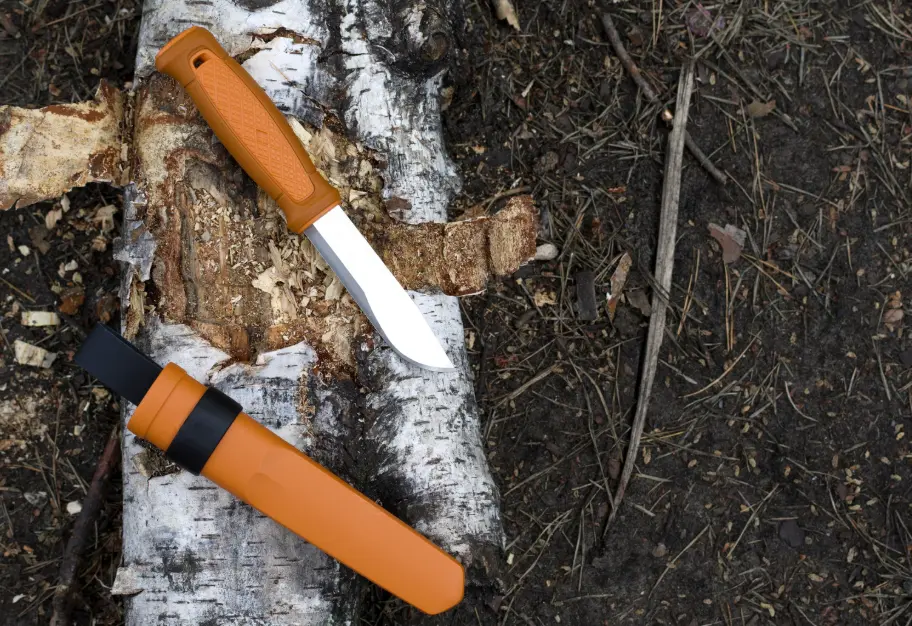
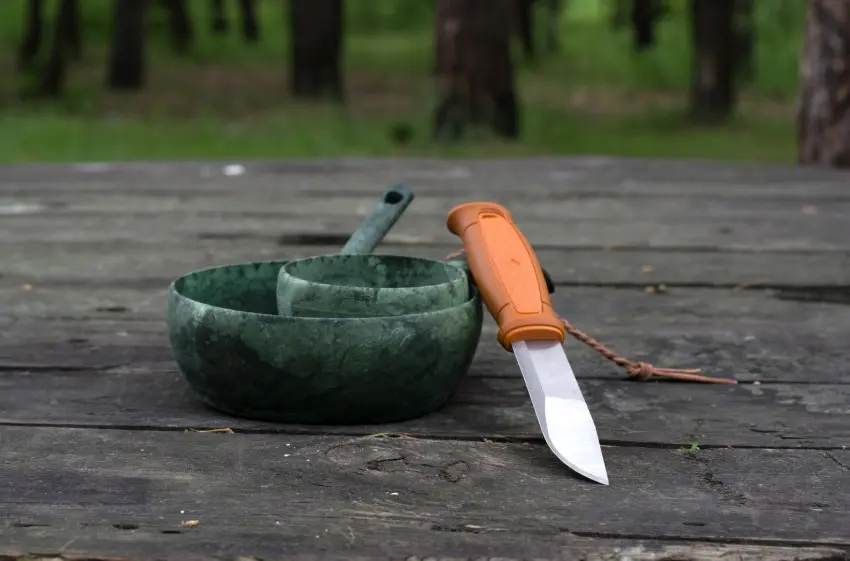
Morakniv: a benchmark for affordable bushcraft knives
Among the knives selected at RayonRando, we particularly appreciate Morakniv.
We selected a range of Morakniv bushcraft knives that impressed us in several ways:
- Made in Sweden with good-quality Swedish steel.
- Strong blades with a good edge, suited to bushcraft needs.
- Rubber handles providing a secure grip even when wet.
- Finally, excellent value for money, thanks to rubber handles without compromising on the blade.
Our selection helps you find the Morakniv bushcraft knife best suited to your needs:
- The stainless-steel Morakniv Companion is the benchmark for everyday use: a dependable bestseller without breaking the bank…
- For more intensive, forceful use, we also offer thicker-bladed models such as the Mora Bushcraft knife. It is especially useful for splitting a branch by using the blade as a wedge and striking it with a log, the batoning technique.
- You can also choose a light yet tough knife such as the Morakniv Kansbol, combining heavy-duty use and precision work thanks to its thinner tip section.
Receive RayonRandoZine:
Clear, concise articles:
- Practical advice
- First-hand experiences
- Technical advice
- Route guides & destinations
- Books on hiking and long-distance journeys...
You will receive 1 free magazine a month for 12 months.
No advertising. No marketing emails.
We would like your feedback:
If you have 3 minutes, tell us what you thought of this issue. It will help us improve future issues: Share my feedback