




The government's emergency kit: be ready when needed.
The French government recommends a 72 h emergency kit for every household. This preparation provides essential self-sufficiency during a major crisis when emergency services may be overstretched. At RayonRando, we believe it is useful to prepare for unexpected events, such as several days without running water, to avoid feeling helpless or panicked. Here we explain how to review your emergency kit properly to ensure safety.
Why does the government recommend a 72 h survival kit?
The 72-hour rule corresponds to the estimated possible wait for assistance. Being self-sufficient during this period is therefore essential.
Official reasons behind the recommendation
Wondering why France recommends a survival kit is understandable. The answer is simple: the country regularly faces floods, storms and health crises. A prepared kit is therefore an essential precaution following official guidance.
- Guaranteed self-sufficiency: you do not depend on rescuers for water, food or first aid.
- Less stress: preparation considerably reduces anxiety in emergencies.
- Official communications: a battery radio keeps you informed even if networks fail.
- Quick departure: a ready emergency kit greatly simplifies evacuation.
These recommendations draw on civil protection experience. It is a serious approach to preparing for and managing emergencies safely for 72 h.
Which crises justify an emergency kit in France?
Several situations may require it: unexpected floods, winter storms cutting power and blocking roads, or crises requiring confinement without outside supplies.
Since 2010, France has experienced many major weather events, showing that no region is entirely protected. COVID also showed that abrupt, major disruption of economic and social activity is possible. Preparing an emergency kit is therefore an indispensable precaution.
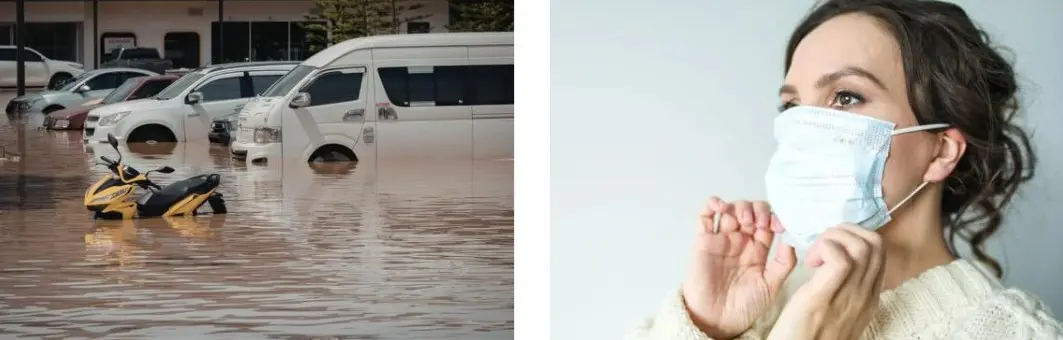
Emergency services cannot reach everyone immediately
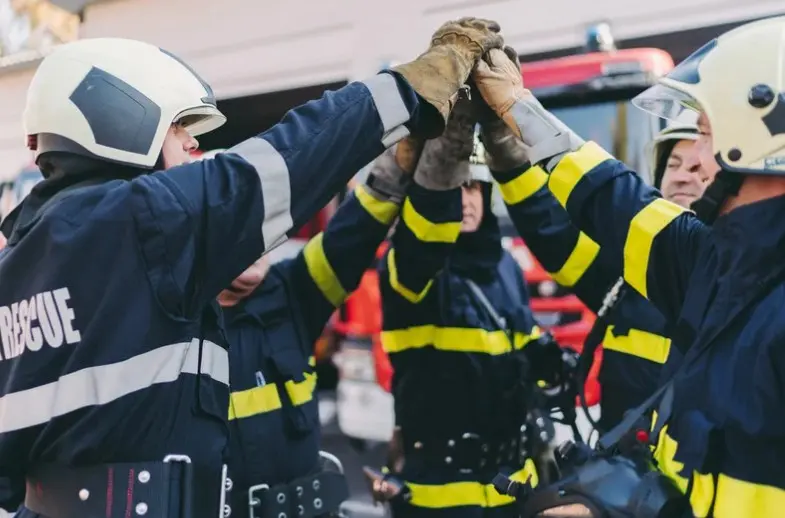
In a disaster, emergency services quickly become overwhelmed. Assistance first reaches easily accessible or densely populated areas, while isolated or difficult-to-reach places wait longer.
A prepared kit lets you wait calmly for help, retain your resources and stay informed by radio, giving responders time to reach you.
Contents of the government's 72 h emergency kit
The French government emergency kit contents were designed carefully and methodically. Every item in this 72 h kit has a vital function in protecting you. Here is the officially recommended composition.
Water first: a vital need often underestimated
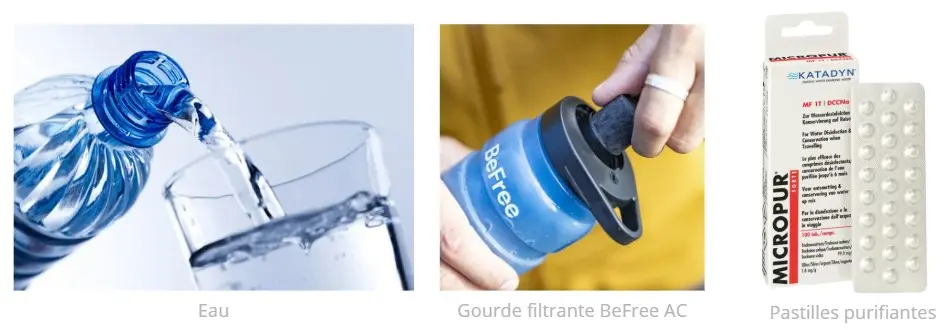
Organise the bag with water as the first priority. Provide enough drinking water, at least six litres per person for a 72 h emergency. Use sturdy containers and replace the water annually.
Keep drinking water in sturdy, tightly closed plastic bottles. Store in a cool place away from light, as prolonged UV exposure can affect quality.
At RayonRando, we emphasise water supplies because they are often the weak point: weight and storage volume mean they may be overlooked or undersized. Yet lack of water becomes vital within the first 24 hours. We encourage going beyond government recommendations by including equipment to filter and purify water (see below).
Food: the kit's 2nd absolute priority
Allow around six meals per person requiring neither cooking nor elaborate preparation. Favour tinned food, nutritious energy bars and biscuits. Nothing should need refrigeration or heating.
Vary sweet and savoury flavours to avoid monotony. Concentrated energy foods occupy little space while providing many calories. Check expiry dates regularly.
| Food | Quantity per person | Advantages | Shelf life |
|---|---|---|---|
| Tinned fish | 2 tins | Complete proteins, good flavour | 3–4 years |
| Energy bars | 6–8 bars | Portable, energy-dense, light | 2 years |
| Wholegrain biscuits | 500 g | Filling, slow-release carbohydrates | 1 year |
| Chocolate/fruit jellies | 200 g | Morale boost + quick-release sugars | 1–2 years |
| Sweetened condensed milk | 1 tin | Hydration + calories | 2 years |
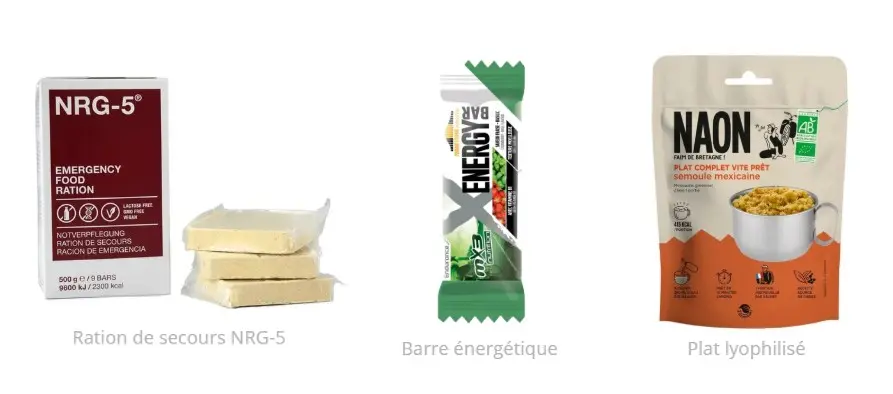
There are also long-life rations, lasting 20 years from production, such as this one available at RayonRando.com: NRG-5 emergency ration
For variety, consider freeze-dried meals, clearly marking the best-before date. Here too, RayonRando offers a wide choice: View our freeze-dried meals
Essential communication and emergency equipment
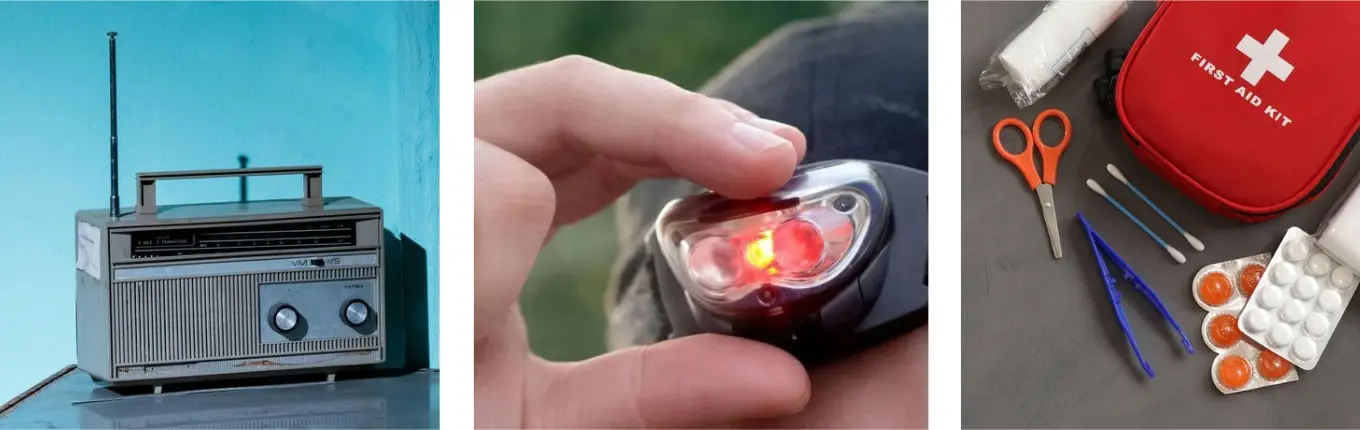
A radio powered by batteries is essential. It lets you hear official instructions and stay informed if networks fail. Test it before putting it away in your bag.
- Battery radio: ideal for receiving FM broadcasts independently. We recommend removing batteries to prevent discharge or leakage.
- LED torch: energy-efficient, with effective, lasting light. At RayonRando, we recommend removing its batteries too.
- First aid kit: essential, containing dressings, disinfectant and basic medicines.
- Survival blanket: light and compact, effectively retaining body heat. At RayonRando, we recommend one survival blanket per person in case you must spend a night outdoors or somewhere unheated.
Include a manual tin opener, a robust multitool knife and enough spare batteries for all devices. At least two complete sets are recommended.
Documents and comfort items to remember
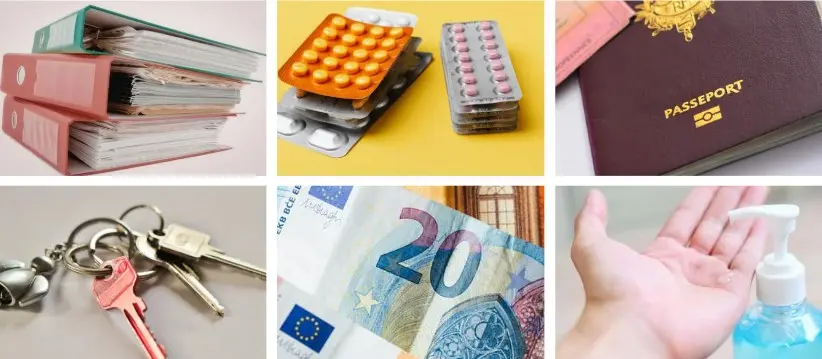
Besides food, include important documents. Copy your identity documents, insurance policies and medical prescriptions. Keep them in a waterproof pouch at the top of your emergency kit.
Add spare keys, cash in small notes, and a notebook of loved ones' contact details and emergency numbers. Paper is invaluable if your phone stops working.
For comfort, add wet wipes, hand sanitiser and toilet paper. These small items greatly reduce anxiety during 72 hours of confinement or evacuation.
Improving and maintaining your government emergency kit
The government emergency kit provides a solid foundation, but must be adapted to your needs and environment. A true government survival kit needs regular updating to remain effective.
Gaps in the standard kit that must be filled
A standard emergency kit often misses practical items such as disinfectant wipes or cleansing gel. A simple survival blanket may be insufficient in low temperatures, making suitable warm clothing essential.
- Improved hygiene: include no-rinse soap and hand sanitiser to reduce infection risks, especially in confined spaces. Find practical accessories here.
- Additional purification: add a water filter or filter bottle and Micropur tablets to treat water if your supplies run out.
- Independent power: include a capable power bank to recharge vital devices without mains electricity.
- Thermal equipment: include gloves, a hat and socks suited to your region's climate. Whatever local weather, at RayonRando we recommend always keeping a hat in the kit, as heat is lost primarily through the head.
Include personal medication and prescription copies. Specific medical devices may also need batteries. Ideally, your first aid kit should meet essential health needs beyond minor injuries.
With young children or pets, consider additional water. Include suitable food and energy drinks to maintain energy during evacuation.

Storage and accessibility: everything in a backpack
Keep your 72 h emergency kit in a dry place with stable temperature, easily accessible near an exit. Ideally it fits a sturdy, ergonomic backpack, allowing any adult to carry it easily in an urgent departure.
Clearly mark the bag “72 h emergency” for everyone in your household. Include a complete contents list to find essentials quickly under stress.
Annual maintenance to keep emergency equipment ready
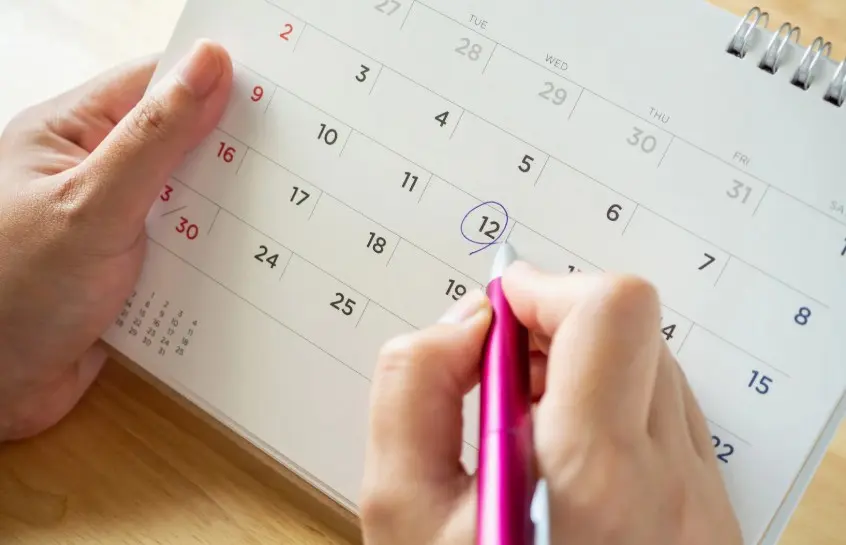
Check emergency equipment regularly and test the radio and torch periodically. Pay particular attention to medicine expiry dates, as effectiveness declines afterwards. Check supplies too, ensuring nothing has deteriorated.
After every use, however minor, replenish the kit. The government recommends keeping a maintenance log for reliable supplies. Consult the official 72 h emergency kit to check your equipment against current guidance.
At RayonRando, we recommend taping a list of perishable contents and all use-by dates to the storage bag for easy checks.
Conclusion
A reliable emergency kit is straightforward, provided you prepare it without delay.
For official information, consult the government website infographic and the civil protection website.
Remember 3 essentials: water, with sufficient reserves and purification; immediate access, with a packed backpack to hand; and annual contents checks.
What food for a self-sufficient trek?
On a multi-day self-sufficient trek, food is essential and sometimes tricky. Planning hiking meals involves several constraints.
Choosing suitable food is essential to maintain energy while limiting pack weight. On multi-day trips, select each food for its weight-to-energy ratio, ease of preparation and shelf life.
-> The aim: eat enough without excess weight while still enjoying meals.
Here is an overview of factors to consider and a first-hand account of the food the RayonRando team takes on self-sufficient treks.
This is not an exhaustive dietitian's article, but a hiker's perspective.
What constraints affect food on a multi-day hike?
Since you will carry everything for several days, there are more constraints than for a family picnic:
- Weight and bulk must suit your backpack and the total load you can reasonably carry.
- Without refrigeration, often in hot weather, food preservation is essential.
-> These first 2 points favour dry foods.
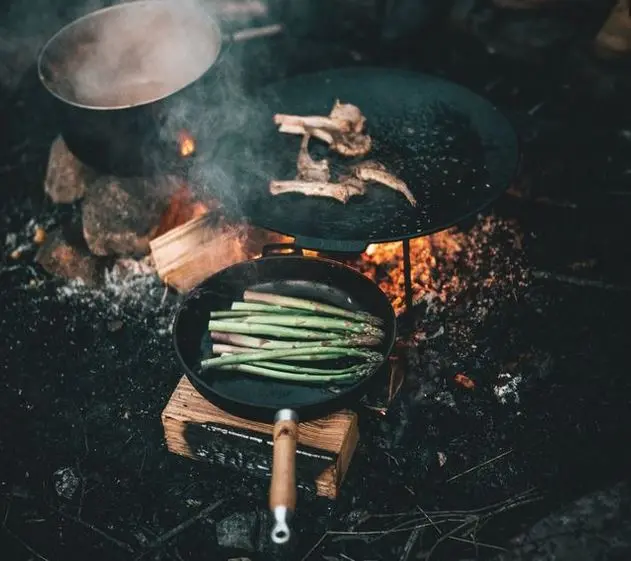
With a small stove and simple cookware set, easy preparation is the rule.
Finally, moderate fuel use also matters on trips exceeding 3 or 4 days with limited gas.
What are your energy needs when trekking?
Hiking energy needs are essential when planning meals.
Daily hiking energy needs
Daily needs vary by person, effort duration and intensity. Women generally require less than men.
Generally allow:
- between 2,400 and 3,000 kcal per day.
- even more in demanding conditions: cold, altitude or technical terrain.
To optimise weight and energy and avoid fatigue, remember:
- Fats provide 900 kcal per 100 grams -> valuable for energy density.
- Carbohydrates provide 400 kcal per 100 grams -> the main fuel during exercise.
- Proteins also provide 400 kcal per 100 grams -> useful for muscular recovery.
Including fat is therefore crucial for a good weight-to-calorie ratio. In practice, favour energy-dense, digestible foods easy to eat while walking.
Protein is important for preserving muscles. Vegetarians often need to allow slightly more weight for adequate plant protein and combine sources correctly for good absorption.
Remember mineral salts:
Sweat and exercise cause mineral losses. These are essential for muscle function; a deficit reduces muscle tone and may encourage fatigue and pain. Remember to season food if needed.
What about water?
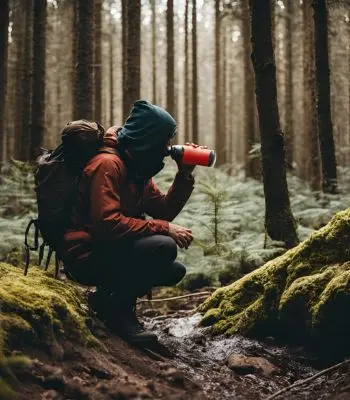
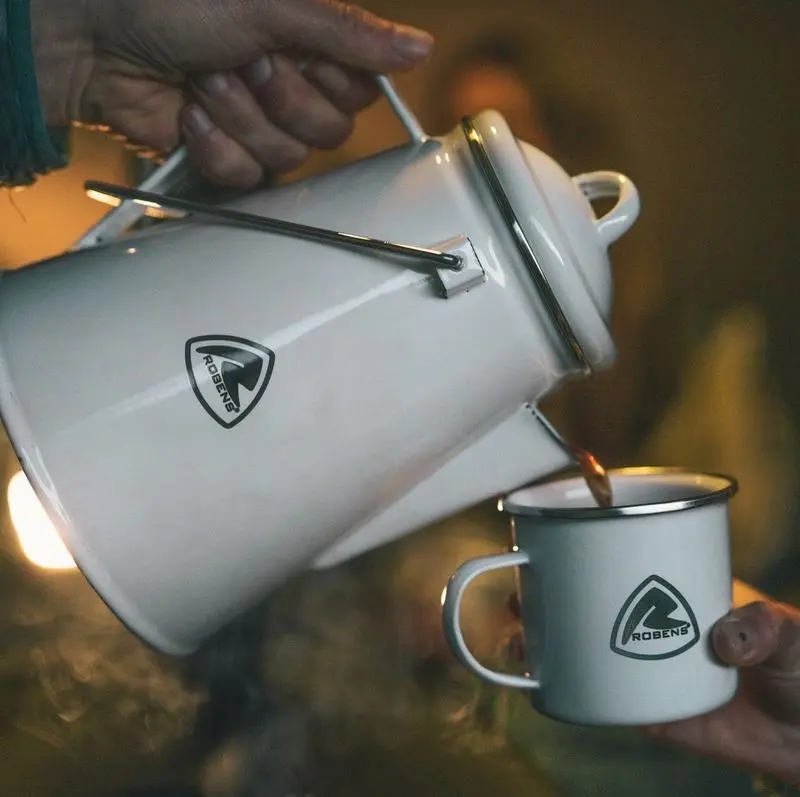
Food absorption also requires good hydration. Besides drinking during the day, beginning dinner with soup and having a good mug of hot drink at breakfast helps.
Vitamins and fibre
These also belong in a balanced diet. You will not hike with a bag of oranges, but when resupplying, consider fresh foods for your next meal to avoid carrying their weight long.
How to meet your needs within these constraints?
Daily portions
Our team allows around 600 g of dry food per day per person, providing around 2,500 to 2,700 kcal.
To stay within 600 g, foods must therefore average more than 400 kcal per 100 g:
- Starchy foods provide around 350 kcal per 100 g.
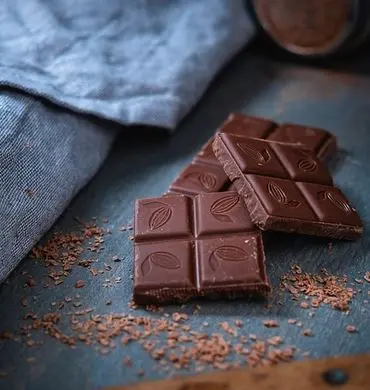
- Also include fairly fatty foods: dark chocolate, cheese, some dry-cured meats, nuts and seeds.
They taste good and help contain total weight.
A little olive oil is easy to add to food, especially starches, for both energy and flavour.
Relatively few foods or preparations exceed 500 kcal. Among them, dark chocolate and some nuts and seeds are easy to carry. Crisps and salted peanuts qualify too.
Managing several days:
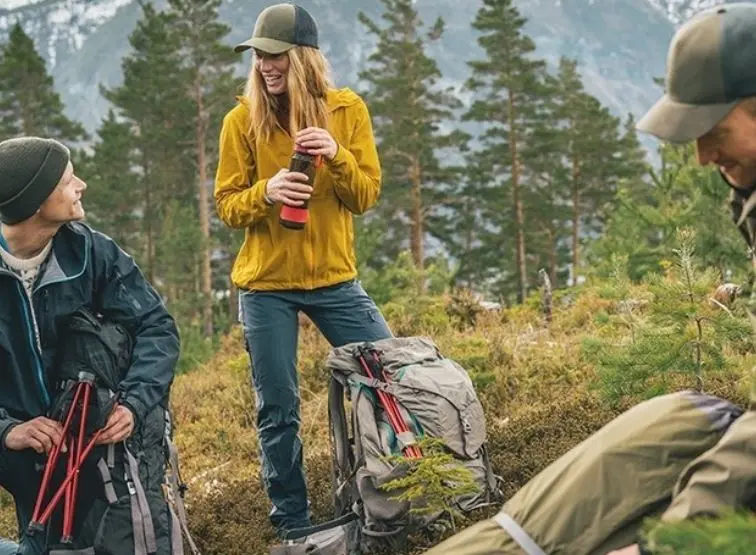
We carry at most 5 days' food, or 3 kilos in the backpack, to avoid excess weight. Where possible, plan routes to resupply at least every 5 days.
For the first 5 days, menus are simpler because all options are available. Freeze-dried meals are particularly practical.
Discover our freeze-dried meal range.
Later, supplies depend on local shops with more limited choice. Yet it is easy to find dry foods: pasta, including 3-minute pasta to save gas, couscous, instant mash, Chinese noodles, milk powder, muesli and oats; plus energy foods such as chocolate, oil and cheese.
What to eat when hiking?
Here are our hiking meal ideas and typical menus:
Breakfast at camp
The morning aim is an effective start:
- Hot drinks: coffee, chicory, herbal tea or another hot drink. Tea reduces iron absorption and is therefore discouraged during multi-day exertion.
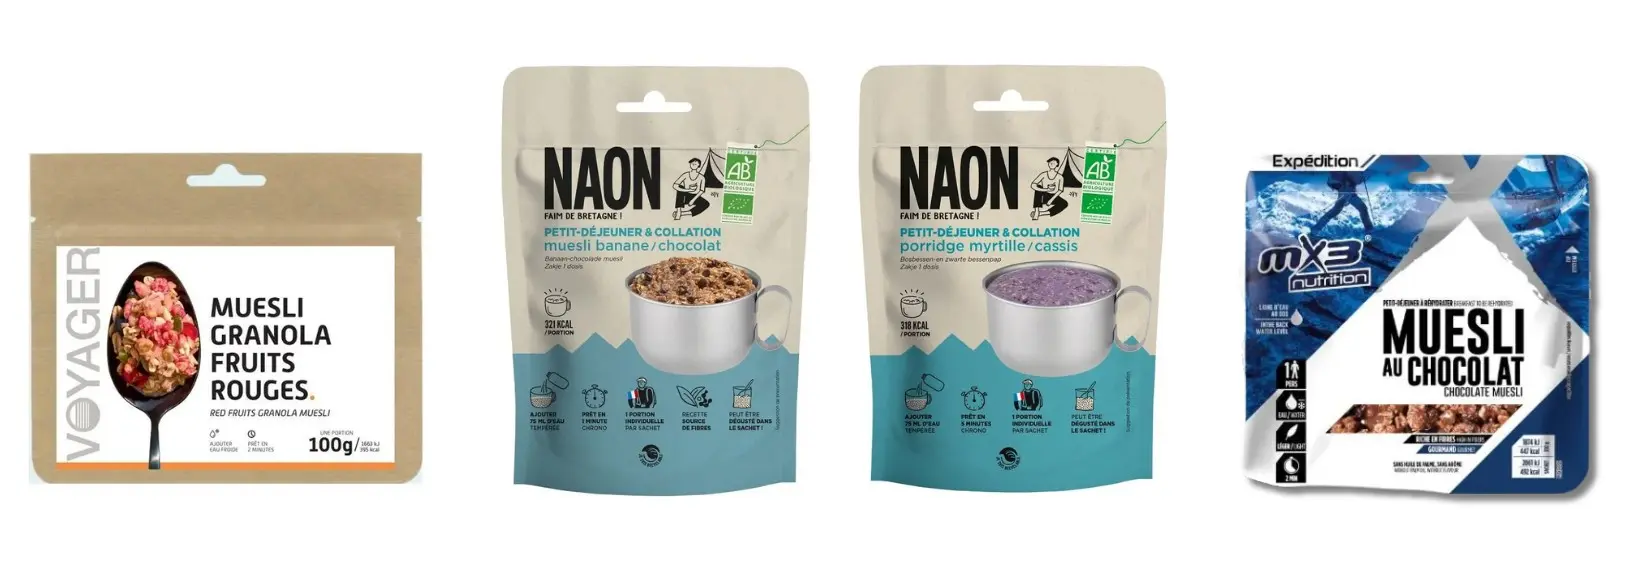
- Freeze-dried muesli or porridge, generally a 125 g pouch, for the first days, then muesli + milk powder, or semolina + cocoa powder + vanilla sugar.
A complete breakfast helps limit energy dips.
50 g snacks:
They maintain a steady energy level:
- Honey- or date-based energy bars
- Dried fruit and nuts (raisins, peanuts, cashews, pineapple, mango)
- Fruit jellies
Eat regularly rather than having large meals.

Lunch: quick and straightforward
At lunchtime, keep things simple:
- 100 g of bread, tortillas or wraps (some happily replace bread with crisps: “leave the bag slightly open to reduce its volume; they provide more energy than bread”)
- 50–70 g of cured meat,
- 50–70 g of cheese, chocolate.
Often eaten without cooking to save time.
Dinner at camp: recovery and rehydration
Your evening meal is essential:
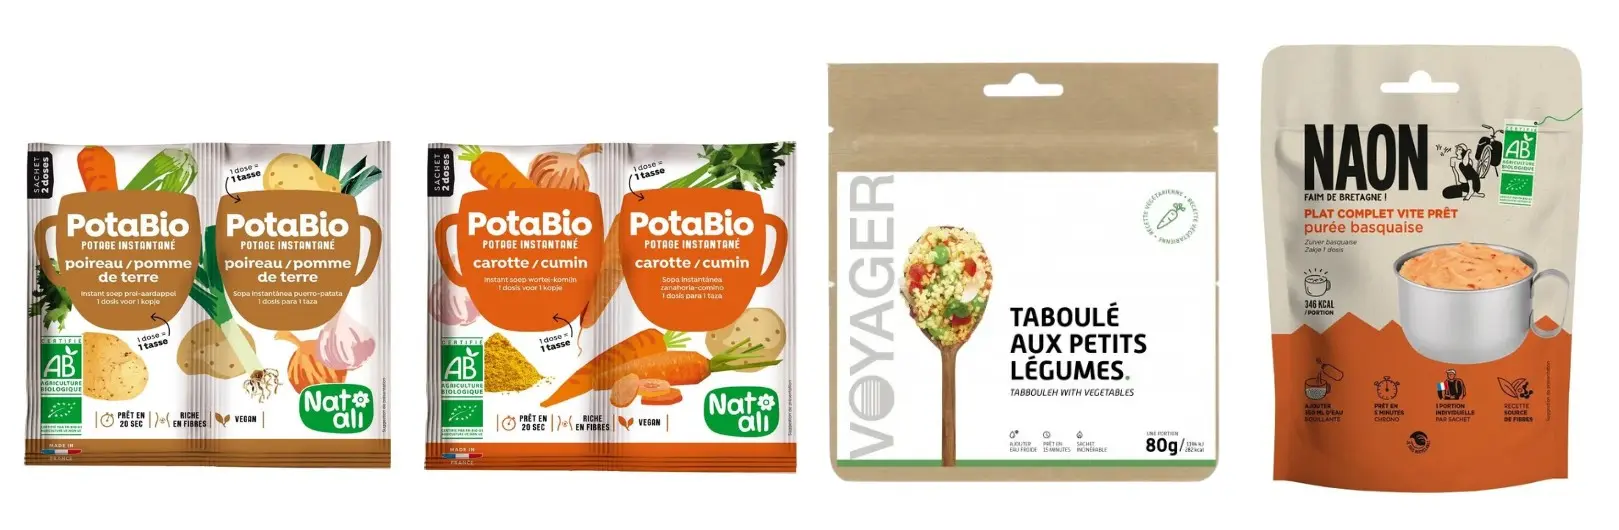
- Always have Potabio soup (it really helps you rehydrate and recover)
- A 125 g freeze-dried meal or a meal based on starchy foods (3 min pasta, couscous, instant noodles, instant mash), plus something to add flavour, fats and minerals: sardines, stock cubes, spices, olive oil. For vegetarians, as well as pulses, health food shops sell soya protein chunks to rehydrate.
- Something sweet if you like (dark chocolate provides plenty of energy and withstands heat better than milk chocolate).
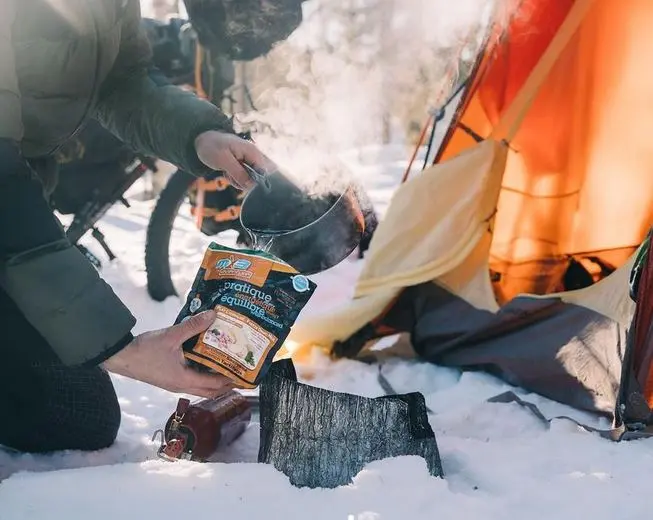
A useful detail: a long-handled spoon is handy for stirring and eating freeze-dried meals:
What emergency food should you carry?
It is wise to carry a little more food than you strictly need. This can help if something goes wrong along the way (a cold spell, a delay or a detour).
Pack a small amount of compact, high-energy food that is easy to prepare and eat:
- Energy bar
- Dark chocolate
- Dried fruit and nuts
Something that provides energy and that you enjoy.
If you are worried about resupply, carrying a spare freeze-dried meal can be worthwhile.
Conclusion
To keep going on a self-sufficient hike, you must at least ensure you have enough energy, water and salt. Weight and storage constraints naturally favour dry foods containing sufficient fat.
To feel well throughout prolonged exercise, without muscle or digestive problems, you also need to consider protein, minerals, vitamins and fibre.
And to enjoy yourself on a trek, choose foods you like eating. Luckily, this is easy: even a basic freeze-dried meal often feels like a feast when you eat it at camp after a long day's walking.
How to organise your panniers for a cycle tour
Going on a cycle tour means carrying all your equipment on your bike. Tent, clothing, food, tools: every item needs a place in your bags.
Organising your luggage is about more than saving space. Poor weight distribution can make your bike unstable, tire you unnecessarily and make manoeuvring difficult. Thoughtful packing, on the other hand, helps you ride more comfortably, keep your bike easy to handle and access your equipment easily.
RayonRando explains the essential principles for organising your panniers efficiently on a cycle tour.
Why pannier organisation matters on a cycle tour
Well-organised luggage directly affects how your bike handles.
Good weight distribution affects:
- Bike stability on roads and tracks
- More comfortable pedalling
- Handling through bends and better control on narrow or technical sections
- Greater safety on descents
Appropriate organisation and packing allow:
- Quick access to equipment during the day
- Quicker setup at a wild camp or campsite
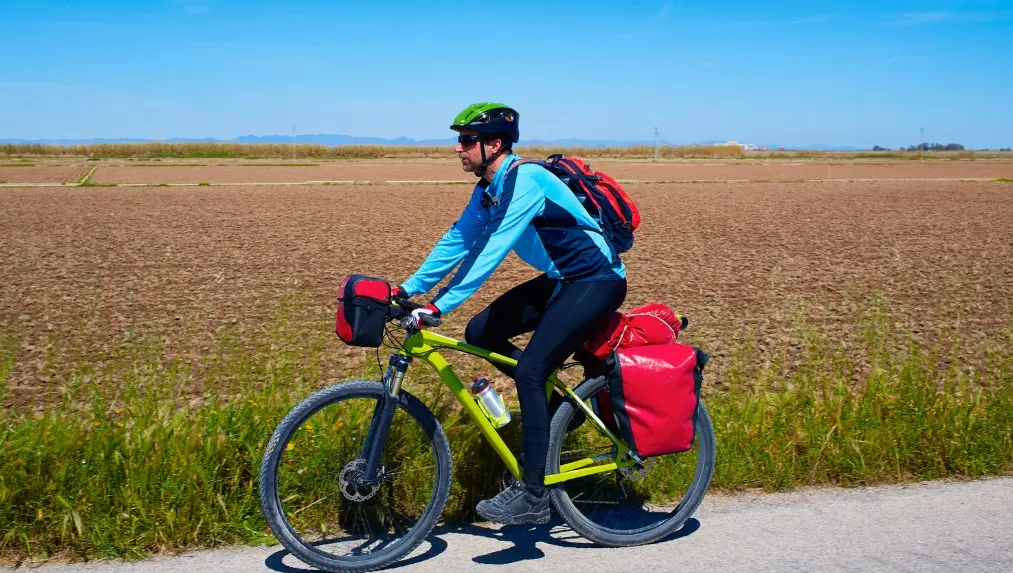
How much luggage should you carry on a cycle tour?
Luggage weight varies with the length of your trip, how self-sufficient you want to be and the season.
Average luggage weight on a cycle tour
Here are some typical luggage weights for cycle tourists:
- Light touring / bikepacking: 8 to 12 kg
- Conventional self-sufficient touring: 12 to 20 kg
- Heavily loaded touring (extended self-sufficiency): 20 to 25 kg
The lighter your luggage, the more agile, enjoyable and efficient your bike is to pedal.
How to distribute weight on a touring bike
The main rule is simple: keep weight as low as possible and balance your panniers.
At RayonRando, we believe 3 types of balance are essential, although they vary depending on how heavily the bike is loaded:
- Left / right: aim for a balance close to 50/50 for comfort and stability.
- Top / bottom within panniers: put the heaviest items at the bottom and reserve the top and the handlebar bag for lighter equipment. A low centre of gravity helps the bike remain stable and easy to handle.
- Front / rear: the balance may differ depending on whether you are carrying a light or heavy load.
Weight distribution between front / rear panniers with a light load
With a minimalist setup (bikepacking or light touring):
- 60 to 70 % of the weight at the rear
- 30 to 40 % at the front
This distribution provides:
- Light steering and an easier-to-handle bike
- More responsive handling without overloading the rear.
Weight distribution with a heavier load
When your luggage is heavier (around 15 to 18 kg or more), it is better to balance the bike more evenly:
- Around 50 % at the rear
- Around 50 % at the front
This setup provides:
- Better overall stability, particularly less weaving on descents, because there is not too much weight and pressure on the rear wheel and there is enough on the front wheel.
- More precise steering.
In this case, heavy, dense items should be packed in the front panniers, as low as possible, while bulkier items can go at the rear.
How to organise your panniers in practice
Logical packing makes life easier throughout your trip. Besides distributing weight and bulk, think about accessibility: what equipment do you need, and at what time of day?
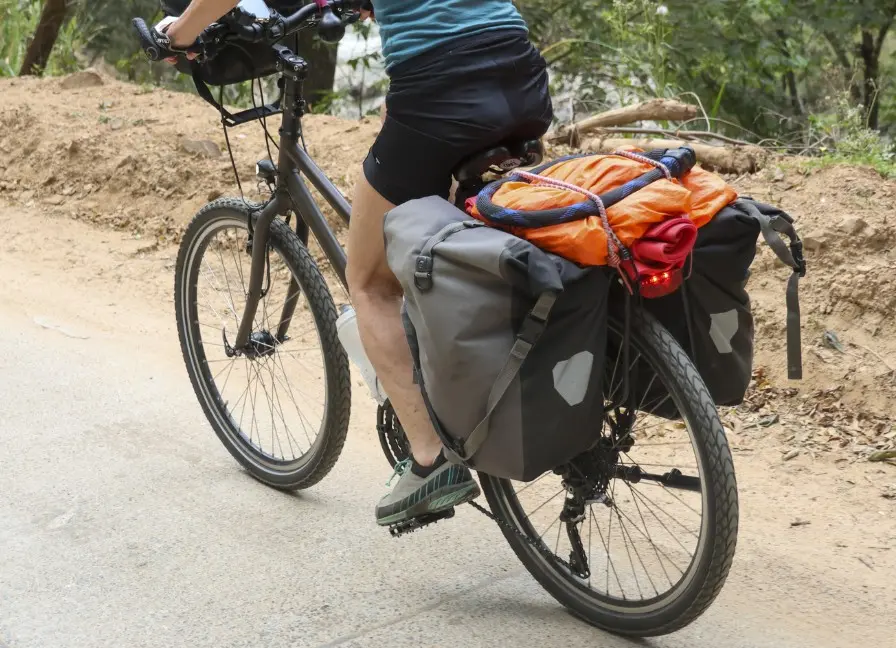
Rear panniers: bulky equipment
These are the most widely used panniers for cycle touring.
Their generous 20 to 25 L capacity accommodates most of your equipment.
Typical contents include your tent, sleeping bag, clothing, sleeping mat and camping equipment.
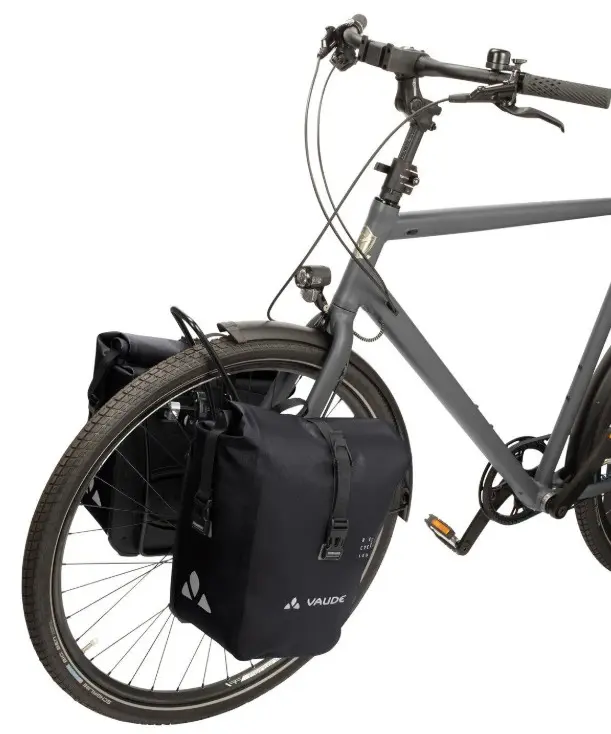
Front panniers: compact, dense equipment
Front panniers are mainly used to balance the load on your bike.
Smaller (12 to 15 L), they generally hold:
- Compact equipment
- Dense or heavy items when the bike is heavily loaded
Examples: food, stove, additional tools
Positioned low on the bike, these items improve stability.
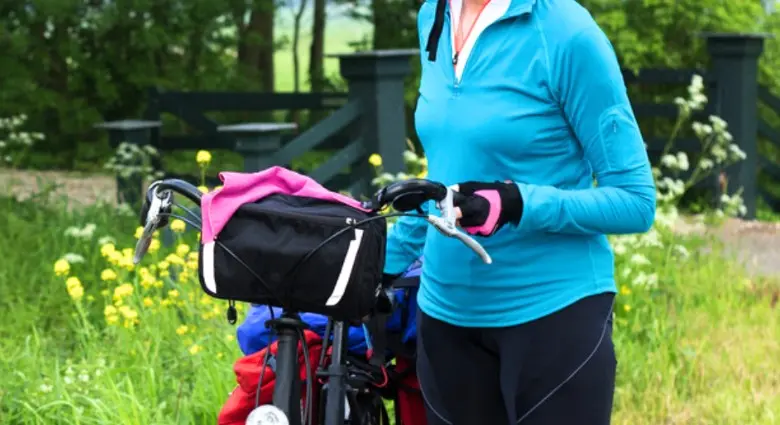
Handlebar bag: essentials within easy reach
The handlebar bag, often 4 to 7 L, keeps items you need during the day close to hand:
- Phone
- Wallet
- Documents
- Camera
- Energy bars
Keep it relatively light so it does not make steering heavy
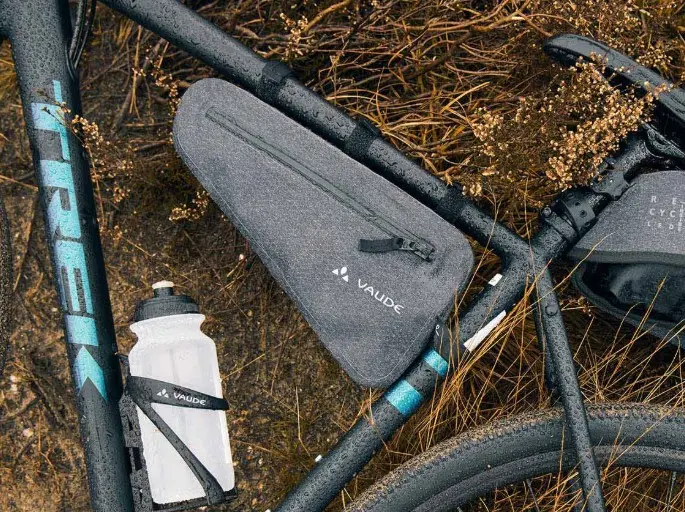
Frame bag: tools and equipment you might need during the day
In a bikepacking setup, bags attach directly to the bike frame.
This reduces the need for luggage racks and encourages a more minimalist approach to equipment.
You can put equipment here that you might need during the day, although not necessarily every day:
- Multitool
- Pump
- Inner tube
- repair kit
- Power bank
Tips for making the most of pannier space
A few simple techniques help you use space efficiently:
- Roll clothes rather than folding them
- Use internal dry bags, ideally in different colours or with distinctive markings.
- Use compression sacks
- Group equipment by category so you do not have to open several panniers to find what you need.
Keep the same packing system every day so you can find your equipment quickly. If necessary, stick a label inside each pannier describing its contents. This helps you look in the right place and repack everything the same way the next morning.
Common pannier packing mistakes
The most common mistakes include:
- Overloading the rear panniers. When carrying a heavy load, excessive weight on the rear wheel increases pressure on the rear tyre and makes pedalling harder, while the less heavily loaded front wheel is less stable.
- Uneven weight between left / right panniers. This is why it helps to keep the same packing system each day once you have balanced your load.
- Putting heavy objects too high up. This reduces stability both when riding and when parked.
- Mixing equipment together. Having to open several panniers to find what you need soon becomes frustrating.
Making items used during the day hard to reach. This beginner's mistake may not happen on your first day, but can easily occur when packing in a hurry one morning.
How should you pack a tent on your bike?
This is often your bulkiest and heaviest item. One way to reduce bulk is to remove the poles from the stuff sack. These cannot be compressed and make the tent bulky. You can store the poles on the luggage rack or in a pannier if they are short enough. The rest of the tent can be rolled more tightly and split between 2 bikes.
The best improvement: travel light
Beyond these packing and weight distribution tips, at RayonRando we believe the best way to simplify pannier organisation is to reduce the weight of the equipment you carry.
If you regularly hike, try not loading your bike much more heavily than your hiking rucksack. With 15 kilos to carry, you can manage without front panniers.
A lighter load offers several advantages:
- A bike that is easier to handle, thanks to having no panniers weighing down the front wheel and a reasonable load on the rear wheel.
- Less fatigue on long stages
- Greater efficiency uphill
- Simpler organisation, since you have packed only the essentials.
A few effective strategies:
- Limit clothing. As on a trek: one daytime outfit and one evening outfit.
- Choose compact equipment
- Prioritise versatile equipment
- Avoid “just in case” items, apart from safety equipment, of course.
Travelling light often improves the whole trip.
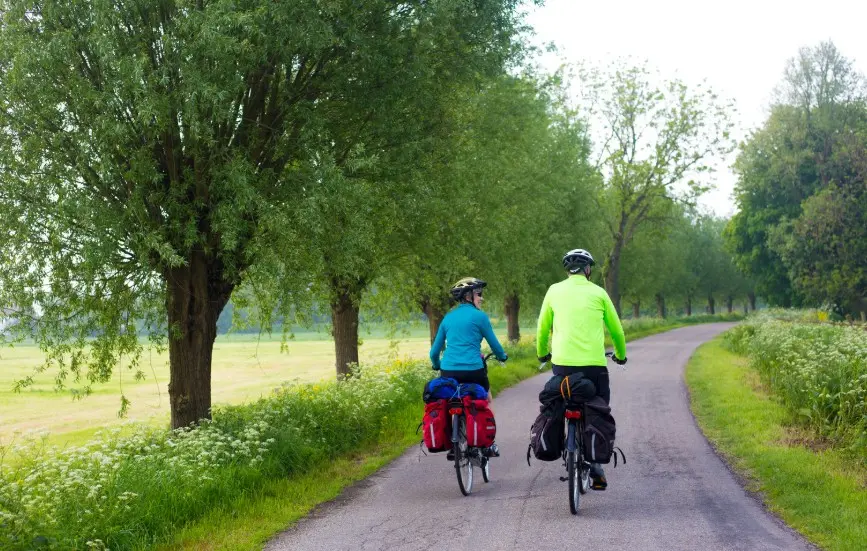
Conclusion
Organising your panniers well is essential for a successful cycle tour. Good weight distribution improves bike stability, makes handling easier and simplifies access to your equipment.
Following a few simple principles — balanced weight distribution, logical packing and a carefully chosen kit — makes enjoying the journey much easier.
At RayonRando, however, we believe managing the weight you carry remains the priority. Lighter equipment means more freedom and enjoyment on the road. Heavier equipment means greater comfort at camp. It is up to you to find the right balance.
Receive RayonRandoZine:
Clear, concise articles:
- Practical advice
- First-hand experiences
- Technical advice
- Route guides & destinations
- Books on hiking and long-distance journeys...
You will receive 1 free magazine a month for 12 months.
No advertising. No marketing emails.
We would like your feedback:
If you have 3 minutes, tell us what you thought of this issue. It will help us improve future issues: Share my feedback